Learning how to use a Dutch oven while camping is like unlocking a new level of your outdoor adventure.
With this handy tool, not only can you whip up hearty meals under the stars, but you can also experience a unique blend of convenience and tradition that has stood the test of time.
Hi, I'm an outdoor enthusiast, eager to guide you through the ins and outs of using a Dutch oven on your camping trips.
Believe me, mastering this age-old cooking technique will not only satisfy your hunger but also your longing for authentic outdoor experiences.
So, buckle up, because we're about to embark on a culinary journey that bridges the gap between modern camping and our ancestral roots.
Understanding What a Dutch Oven is
History and Design of Dutch Ovens
The Dutch oven is not a new trend in outdoor cooking; it has been a campsite staple for centuries. It was the English who first produced these cast-iron pots in the 17th century. But why call it a ‘Dutch' oven then? Well, it's a tip of the hat to the Dutch casting process that was popular during those times.
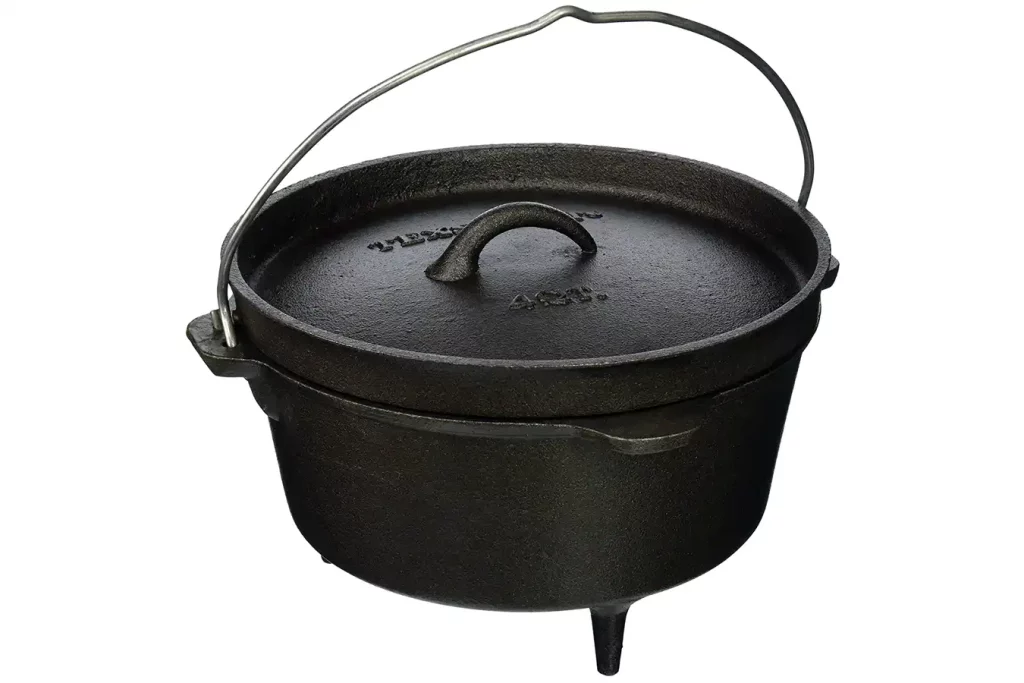
Fast forward to today, and the Dutch oven retains much of its traditional design. It's a heavy-duty pot with a tight-fitting lid, which makes it fantastic for slow cooking, baking, stewing, and frying. Its cast-iron material also ensures heat is evenly distributed for a perfectly cooked meal every time.

Why a Dutch Oven is Perfect for Camping
The Dutch oven is the Swiss Army knife (Amazon) of cookware, which makes it an ideal companion on camping trips. It's incredibly versatile, capable of making everything from slow-cooked pulled pork to a crusty loaf of bread.
Moreover, its robust cast-iron construction can handle the rigours of outdoor cooking. It retains heat exceptionally well, ensuring your meals are evenly cooked even in the great outdoors. And let's not forget how easy it is to clean. A well-seasoned Dutch oven is as non-stick as they come. It's the kind of low maintenance buddy we all want on a camping trip!
Choosing the Right Dutch Oven for Camping
Types of Dutch Ovens: Cast Iron vs Aluminum
When it comes to Dutch ovens, the type of material it's made of can significantly influence your camping cooking experience. Traditional cast-iron Dutch ovens are beloved for their excellent heat retention and durability. They're perfect for slow cooking dishes over the campfire.

Aluminum Dutch ovens, on the other hand, are much lighter than their cast-iron counterparts. They heat up faster but aren't as good at retaining heat. If you're backpacking and need to keep your load light, an aluminum Dutch oven could be a good pick.
Sizes and Their Uses
Dutch ovens come in a range of sizes, typically measured in quarts. A 2-quart Dutch oven is great for solo adventurers or dishes like dips and sauces. A 4 to 6-quart oven is perfect for small groups or families, while an 8-quart or larger is ideal for bigger gatherings or batch cooking.
Choosing the right size depends on the number of mouths you're feeding and the type of dish you're making. Remember, it's better to have a bit of extra space in your Dutch oven than to have your stew spilling over into the fire!
What to Look for When Buying
When purchasing a Dutch oven for camping, consider its material, size, and lid design. A flanged lid (one with a lip around the edge) is excellent for holding coals if you plan on baking. Some Dutch ovens come with legs which elevate them over hot coals, whereas others are legless and are ideal for cooking on a grill or hanging over a fire.
Consider accessories like a lid lifter for safely handling hot lids and a carrying bag for easier transport. A good Dutch oven might seem like an investment, but with the proper care, it's a piece of cookware that can serve you delicious meals for many camping trips to come.
Whether it's your first camping trip or you're a seasoned outdoor enthusiast, a Dutch oven can transform your outdoor cooking experience. As we journey further, we'll explore how to use and care for your Dutch oven to create campsite meals that are truly a feast for the senses!
Learn more: How to Restore Cast Iron Dutch Oven
Preparing Your Dutch Oven for Use
Importance of Seasoning Your Dutch Oven
Before we get into cooking, there's a critical step to ensure your Dutch oven is ready for use – seasoning. Seasoning is the process of baking oil into the pores of the iron to create a smooth, non-stick surface. Not only does this make cooking and cleanup easier, but it also protects your Dutch oven from moisture, preventing rust. Plus, a well-seasoned Dutch oven can even add an extra layer of flavor to your dishes!
Step-by-step Guide to Seasoning
Seasoning a Dutch oven isn't complicated, but it does take a little time. Here's a quick step-by-step guide to get you started:
- Wash Your Dutch Oven: Before you start seasoning, give your Dutch oven a good scrub with warm water and mild soap to remove any manufacturing residues.
- Apply Oil: Dry the Dutch oven thoroughly. Then, using a cloth or paper towel, apply a thin layer of oil all over the pot, including the lid. You can use any oil or fat, but flaxseed oil and vegetable shortening are popular choices due to their high smoke points.
- Heat It Up: Place your Dutch oven upside down in a preheated 350°F oven. (At a campsite, you can place it upside down over hot coals.) Let it bake for about an hour.
- Cool Down: Turn off the heat and let the Dutch oven cool down inside the oven. Once cooled, your Dutch oven is seasoned and ready to use!
Also learn: How to Make Biscuits While Camping
How to Cook With a Dutch Oven While Camping
Understanding Heat Distribution
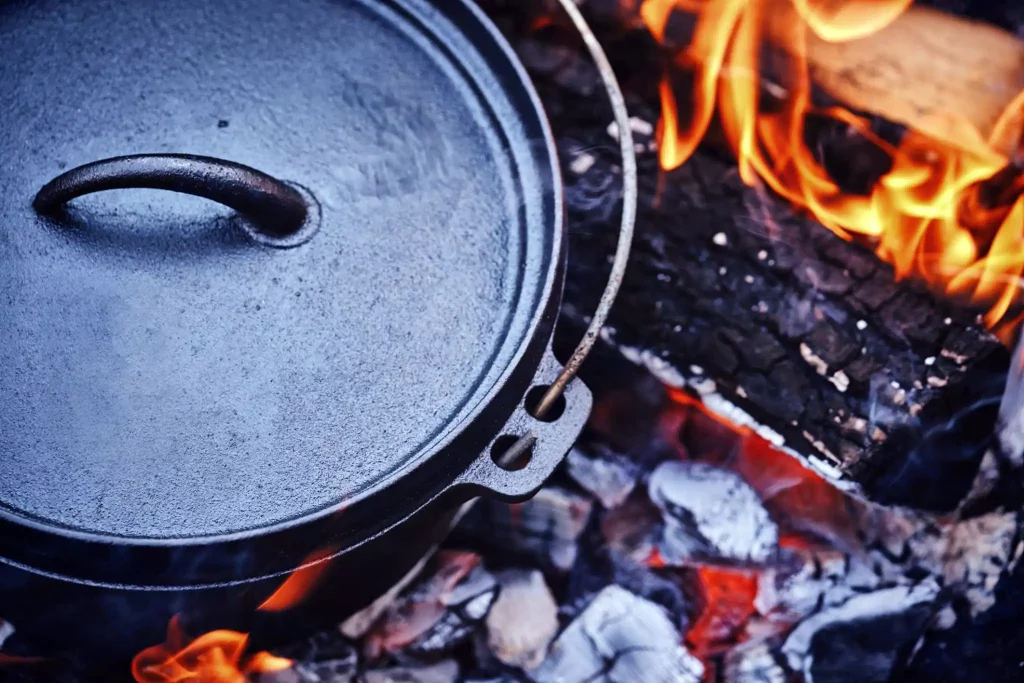
When cooking with a Dutch oven at a campsite, heat distribution is crucial. Place too many coals on the bottom, and you might burn your food. Too few on top, and your bread might not brown. A good rule of thumb is the “3 up, 3 down” rule. If you're using a 12-inch Dutch oven, you'd put 9 coals below and 15 on top to achieve an approximate temperature of 350°F.
Tips for Cooking Over an Open Fire
Cooking over an open fire brings a certain rustic charm, but it also requires a few additional considerations. Here are some tips:
- Use a Fire Ring: A fire ring helps contain the fire and coals and makes heat management easier.
- Wait for the Right Coals: Patience is key. Wait for the fire to burn down to a nice bed of hot coals – these provide a more consistent and controllable heat than flames.
- Rotate Your Oven: To ensure even cooking, rotate your Dutch oven every 15 minutes or so. Turn the lid and the oven in opposite directions.

Controlling the Temperature
Temperature control can be one of the trickiest parts of Dutch oven cooking. But don't worry, there's a simple trick. To increase the heat, add more coals; to decrease it, remove some. A Dutch oven thermometer can also be a great investment to take the guesswork out of temperature control.
In short, to use a Dutch oven while camping, place it over a heat source like hot coals, adjust the number of coals for desired temperature, and cook your meal with the lid on, making sure to rotate the oven and lid occasionally for even heat distribution.
Cooking Different Meals Using a Dutch Oven
Breakfast Recipes
One of the great things about a Dutch oven is how versatile it is. For breakfast, how about some Dutch oven pancakes or a hearty breakfast hash? Or, if you prepared dough the night before, you could even bake fresh bread to start your day.
Lunch/Dinner Recipes
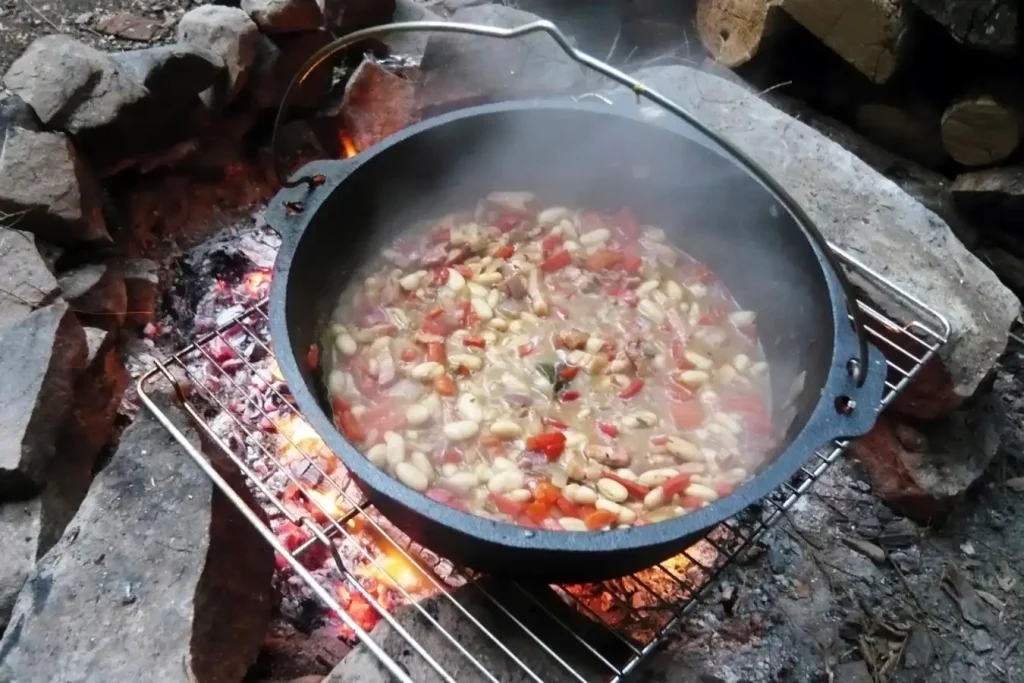
For lunch or dinner, the possibilities are endless. A Dutch oven is perfect for simmering soups and stews, roasting meat, or even baking a pizza. For a real treat, try making a Dutch oven lasagna – it's sure to impress your camping buddies!
Dessert Recipes
And let's not forget dessert! From apple cobbler to chocolate cake, a Dutch oven can make it all. One of our favorites is a simple Dutch oven dump cake – just dump your ingredients in, put the lid on, and wait for a delicious, steaming-hot dessert.
A Dutch oven is an invaluable tool in your camping kitchen. With a bit of practice and some creativity, you'll be cooking up amazing meals in the great outdoors in no time.
Read more: How to Cook Steak in the Oven
Safety Precautions While Using a Dutch Oven
Handling Hot Dutch Ovens
Dealing with a Dutch oven filled with steaming hot food requires caution. Always use a lid lifter or heat-resistant gloves to handle the oven and the lid. It's crucial to remember that the entire Dutch oven will be hot, not just the pot. And remember, never rush while handling hot cookware—slow and steady keeps you safe!
Fire Safety
Fire safety can't be emphasized enough when cooking outdoors. Always establish your cooking area away from tents, dry leaves, or any flammable material. If you're using a fire ring, ensure it's well-contained. Never leave your fire unattended, and always have a water source nearby to douse the fire after cooking.
Cleaning and Maintaining Your Dutch Oven
Cleaning After Each Use
To keep your Dutch oven in the best condition, it's important to clean it after each use. Start by removing any remaining food with a plastic scraper. Then, wash the oven with warm water—avoid soap if possible as it can break down the seasoning. Dry the Dutch oven thoroughly before storing it to prevent rust.
Preventing Rust and Damage
To prevent rust, always dry your Dutch oven thoroughly after cleaning. If it's particularly humid or rainy, consider drying it over low heat or in the sun. To maintain the seasoning, lightly oil the Dutch oven after each cleaning.
FAQs about Dutch Oven Camping
How do you cook with a Dutch oven camping?
Can a Dutch oven go directly on the stove?
What is the best way to use a Dutch oven?
Can you put a campfire Dutch oven in the oven?
Final Thoughts
From hearty breakfasts to decadent desserts, the versatility of Dutch ovens truly shines when camping. Their robust design, even heat distribution, and compatibility with open-fire cooking make them an indispensable tool for any outdoor adventure. Plus, with the right care and handling, a Dutch oven can last a lifetime—making it not just a purchase, but an investment.
If you're new to Dutch oven cooking, remember, practice makes perfect. Each meal you cook will help you better understand heat control, timing, and how your particular oven behaves. So don't be discouraged if your first loaf of bread turns out a bit too crispy or your stew isn't perfectly simmered.
In the end, it's about the journey—trying new recipes, honing your cooking skills, and sharing delicious meals with good company under the open sky. So embrace the process, and before you know it, you'll be a Dutch oven pro!
Read next: What to Bring to a Camping Festival


