Hello, Dutch oven owners! Have you been wondering how to restore cast iron Dutch oven to its former glory?
We’ve got just the guide for you, carefully crafted to take you through each step of the restoration journey.
Not only are we going to breathe new life into your Dutch oven, but we’ll also empower you to keep it in top-notch condition for years to come.
I’m Ovi Tanchangya, your passionate guide on this culinary adventure, excited to share my expertise and love for all things cast iron.
Ready to witness your Dutch oven’s stunning transformation? Roll up your sleeves and let’s dive right in, folks!
Identifying the Condition of Your Cast Iron Dutch Oven
Before you start with the restoration, it’s crucial to know what you’re dealing with. The state of your Dutch oven will determine the best course of action for restoration.
Assessing the Current State of Your Oven
Start by conducting a thorough examination of your Dutch oven. Does it have a layer of rust, or maybe an unpleasant build-up from years of cooking? Are there any cracks or chips? Take note of all these details, as they will guide you in your restoration process. Remember, the aim here is to restore functionality and safety, not necessarily to make it look brand new.
Recognizing Common Issues: Rust, Build-up, and Damage
Rust is a common issue with cast iron cookware. Exposure to air and moisture can lead to a layer of reddish-brown rust. Cooking build-up, on the other hand, results from oils and food residues that have hardened over time. Damages, such as cracks or chips, can occur due to mishandling or extreme temperature changes. The good news is that, barring any severe damage, all these issues can be fixed with some care and effort.
Read more: How to Make Biscuits While Camping
Gathering the Necessary Tools and Materials for Restoration
Armed with the knowledge of what your Dutch oven has been through, it’s time to gather your tools for the restoration process.
List of Essential Tools and Materials for Restoration
To restore your Cast Iron Dutch Oven, you’ll need:
- Steel wool or a wire brush for scrubbing off rust and build-up
- Dish soap for a thorough clean
- Vinegar for treating heavy rust
- Vegetable oil or another type of seasoning oil
- Oven mitts for handling the hot Dutch oven
Remember, these are general tools and materials that work in most cases. Depending on the condition of your Dutch oven, you might need additional supplies.
Safety Precautions: Handling and Using the Tools
While working with these tools and materials, ensure your safety. Use gloves while scrubbing with the steel wool or wire brush to protect your hands. When dealing with vinegar, remember that it’s an acid, albeit a mild one, so avoid skin contact and ensure good ventilation. And, of course, use oven mitts while handling the hot Dutch oven.
There you have it, the initial steps to restoring your Cast Iron Dutch Oven!
The Process: How to Restore Cast Iron Dutch Oven
We’re back, friends, and ready to get our hands dirty! Now that we’ve identified the state of your Cast Iron Dutch Oven and gathered our tools, it’s time to roll up our sleeves and delve into the exciting part—the restoration process itself. So, let’s get to it!
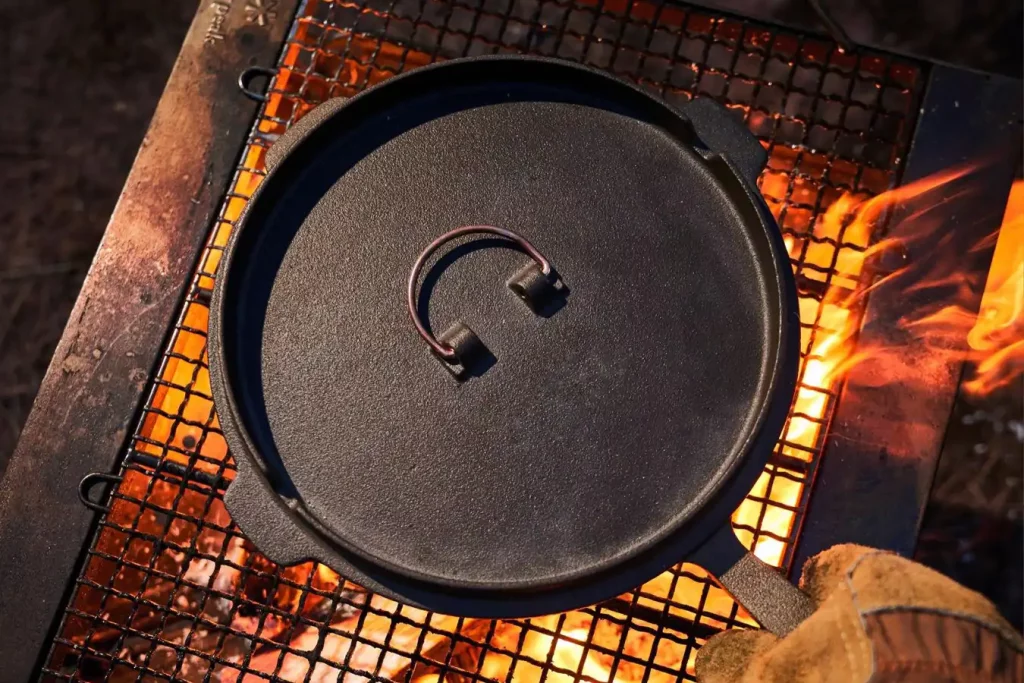
Cleaning Your Cast Iron Dutch Oven
Before we can restore our Dutch oven, we need to give it a thorough cleaning. This involves removing rust, build-up, and any other residues clinging to the oven.
Step 1: Initial Cleaning and Removing Loose Rust
Start by scraping off any loose rust and build-up using your steel wool or wire brush. Be sure to clean all surfaces, both inside and out. Remember those oven mitts for safety, and don’t forget to give the lid some love, too!
Step 2: Dealing with Stubborn Rust and Grime
If some rust spots or grime are stubborn, it’s time to bring in the vinegar. Make a 1:1 solution of water and vinegar, and soak your Dutch oven for about an hour. The mild acid in vinegar helps to dissolve the rust, making it easier to scrub off. Be sure not to soak it for too long, as prolonged exposure to vinegar can damage the iron.
Step 3: Washing the Oven with Soap and Water
Once you’ve removed the rust and grime, wash your Dutch oven with some warm water and mild dish soap. This will remove any remaining vinegar and loose particles, ensuring a clean surface for the next step.
Restoring Your Cast Iron Dutch Oven
With a squeaky-clean Dutch oven in hand, we can now focus on the restoration. This part is all about applying a new layer of seasoning to protect the oven and enhance its cooking properties.
Step 4: Drying the Oven Thoroughly
It’s crucial to dry your Dutch oven thoroughly after washing, as any leftover moisture can lead to rusting. You can use a cloth to wipe it down, then place it on a warm stovetop or in a low-heated oven to evaporate any remaining moisture. Don’t forget the lid!
Step 5: Applying a New Layer of Seasoning
Next, lightly coat your Dutch oven with a layer of your chosen oil. Vegetable oil works well for this. Remember to coat all surfaces, inside and out, and the lid too! The oil acts as a barrier against moisture and rust, and it also creates a non-stick cooking surface.
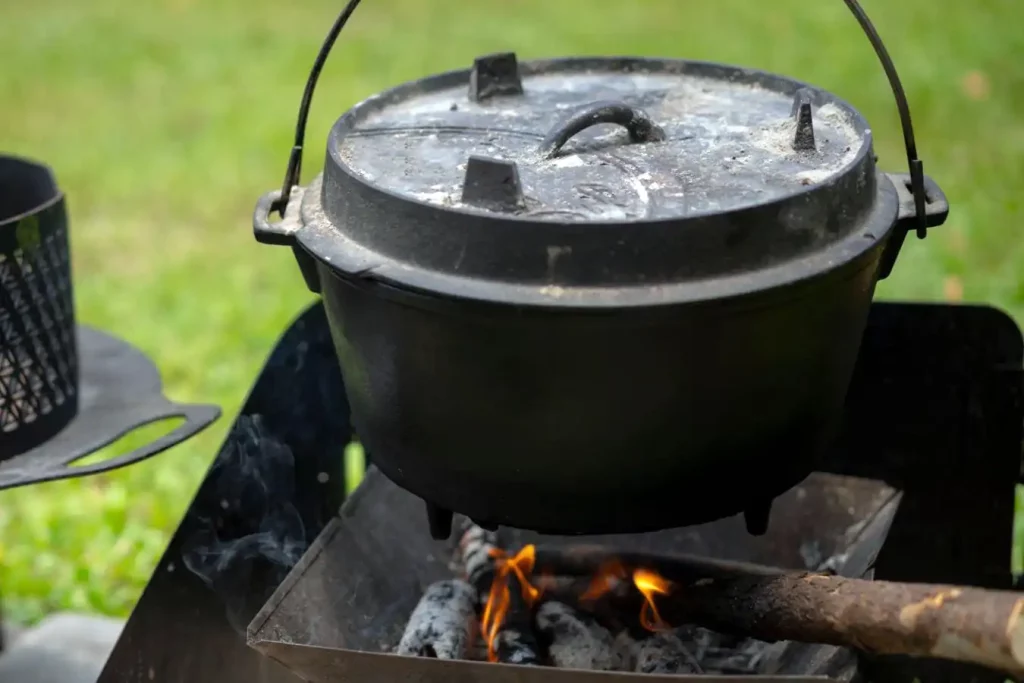
Step 6: Baking the Oven to Complete the Restoration
The final step is baking your Dutch oven to set the new layer of seasoning. Place your Dutch oven upside down in a preheated oven at 375°F (190°C) and bake it for about an hour. Then, turn off the oven and let it cool down completely inside.
In short, to restore a Cast Iron Dutch Oven, clean it to remove rust, then apply oil and bake it at 375°F (190°C) for an hour.
Your Cast Iron Dutch Oven is now ready to whip up those scrumptious camping meals again. Remember, taking care of your outdoor gear is just as important as the exciting adventures you undertake. So, here’s to many more delectable meals cooked in your restored Dutch oven!
Learn more: Remove Carbon Buildup on Cast Iron Skillets
Maintaining Your Restored Cast Iron Dutch Oven
Now that your Cast Iron Dutch Oven is back in business, the goal is to keep it that way. It’s not just about restoring—it’s about preserving this treasured piece of gear for many more adventures to come. Let’s explore some practical tips and guidelines to ensure your Dutch Oven stays in prime condition.
Tips for Properly Using Your Oven to Prevent Future Damage
Proper use can significantly extend the life of your Dutch Oven. Here are a few tips:
- Avoid sudden temperature changes, as these can cause the cast iron to crack.
- Use wooden or silicone utensils to prevent scratches.
- Never store food in your Dutch Oven. The acidity of some foods can react with the iron.
- When not in use, store your Dutch Oven in a dry place with the lid slightly ajar to allow air circulation and prevent moisture build-up.
Essential Cleaning and Care Routine Post-Use
Regular cleaning and care are vital for maintaining your Dutch Oven’s longevity. Here’s a simple routine to follow after each use:
- Clean the Dutch Oven while it’s still slightly warm.
- Avoid using harsh detergents or metal scourers that can damage the seasoning.
- Dry the Dutch Oven thoroughly after each wash, preferably on a warm stovetop or in a low-heated oven.
- Apply a light coating of oil after cleaning to maintain the seasoning.
Know more: What Size Dutch Oven for Camping
FAQs about Restore Cast Iron Dutch Oven
How do you strip and Reseason a cast iron Dutch oven?
How do you bring old cast iron back to life?
How do you care for an old cast iron Dutch oven?
How do you restore enamel on a Dutch oven?
Conclusion
The effort you put into restoring and maintaining your Cast Iron Dutch Oven truly pays off when you sit around the campfire, enjoying a delicious, heartwarming meal straight from the oven. It’s about preserving a trusted companion on your outdoor adventures—one that fills your camping days with culinary delights and your camping nights with warm comfort.
Remember, the Cast Iron Dutch Oven is not just a cooking tool; it’s a heritage passed down through generations of campers, adventurers, and outdoor enthusiasts. And every time we take the time to restore and care for it, we contribute to that rich legacy. So here’s to all those unforgettable meals yet to come from your restored Dutch Oven. Keep the campfire burning, and happy camping, my friends!
To know more: Protect Induction Cooktop from Cast Iron