So, you’ve been thinking about ‘how to remove embroidery from a backpack’, right?
Maybe that old logo isn’t your style anymore, or perhaps there’s a name you’d rather forget.
Removing embroidery can be tricky, but with the right steps, it doesn’t have to be a chore.
In this guide, we’ll unravel the process together, stitch by stitch.
By the end, your backpack will be ready for a fresh start or a new design.
Let’s dive in and give that bag a makeover!
The Importance of Proper Embroidery Removal
Embroidery, while beautiful and decorative, can become a stumbling block when it’s not quite your taste anymore. But hastily ripping out those threads could lead to irreparable damage, leaving your backpack looking worse than when you started. That’s why understanding how to correctly remove embroidery is crucial. It allows you to reclaim your backpack’s style, while preserving its integrity and longevity.
Brief Overview of the Article
This article is here to walk you through the intricacies of embroidery on a backpack, from understanding what it is to mastering the process of removal. It aims to provide you with practical and analytical insights, ensuring you’re equipped with all the knowledge needed to carry out this task successfully. Ready? Let’s get started!
What is Embroidery on a Backpack?
Before we get to the removal process, it’s essential to grasp what we’re dealing with. So, what exactly is embroidery on a backpack?

Understanding the Basics of Embroidery
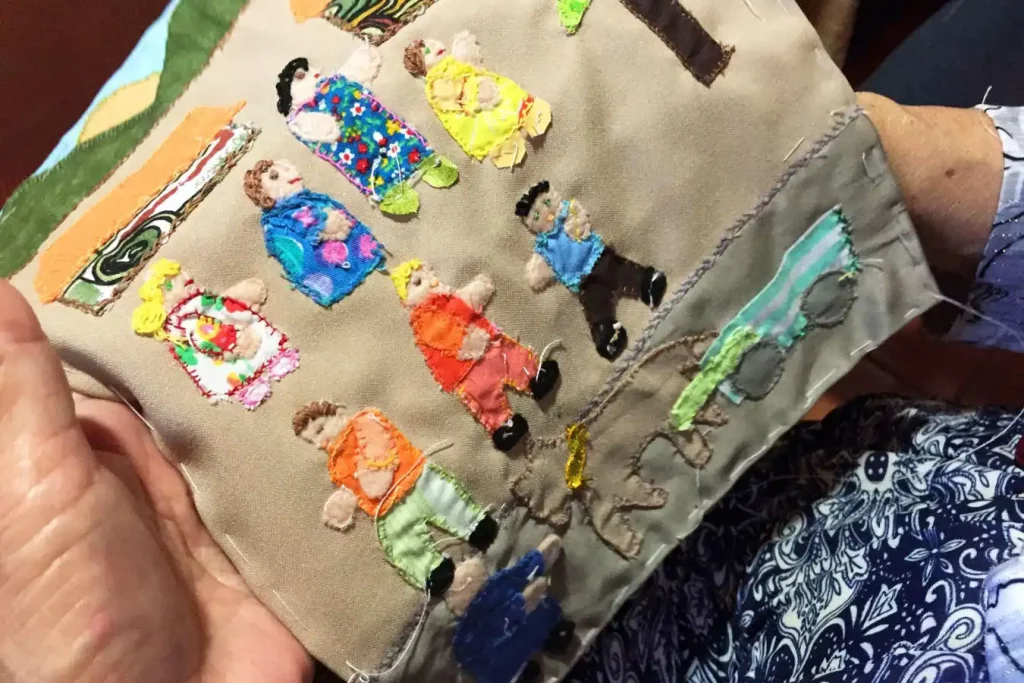
Embroidery, in its simplest form, is an art. It involves the use of a needle and thread to create decorative designs or logos on various materials, including the fabric of your backpack. It’s a technique that’s been around for centuries, with its roots traced back to ancient civilizations. Today, it’s used both for decorative purposes and as a means of identification – think of all the branded backpacks you see around you!
How Embroidery is Applied to a Backpack
Creating an embroidered design on a backpack involves several steps. First, the design is sketched or printed onto the fabric. Next, an embroiderer – or an embroidery machine, in most cases – punctures the fabric with a needle carrying the thread, creating the design stitch by stitch.
This process attaches the thread to the surface of the backpack, but not all the way through to the other side. The thread loops around itself, securing it in place. That’s why when you look at the underside of an embroidered piece, you’ll see a slightly different pattern than on the front.
Knowing how embroidery is applied to your backpack will help you understand how to reverse the process. But remember, patience is key! As you can imagine, unraveling these intricate stitches requires a careful and delicate touch.
Tools Needed for Removing Embroidery
Before embarking on this embroidery-removing journey, you’ll need some tools to do the job right. Having the correct tools at hand will not only make the process easier but will also help ensure that your backpack remains in good condition throughout the process.
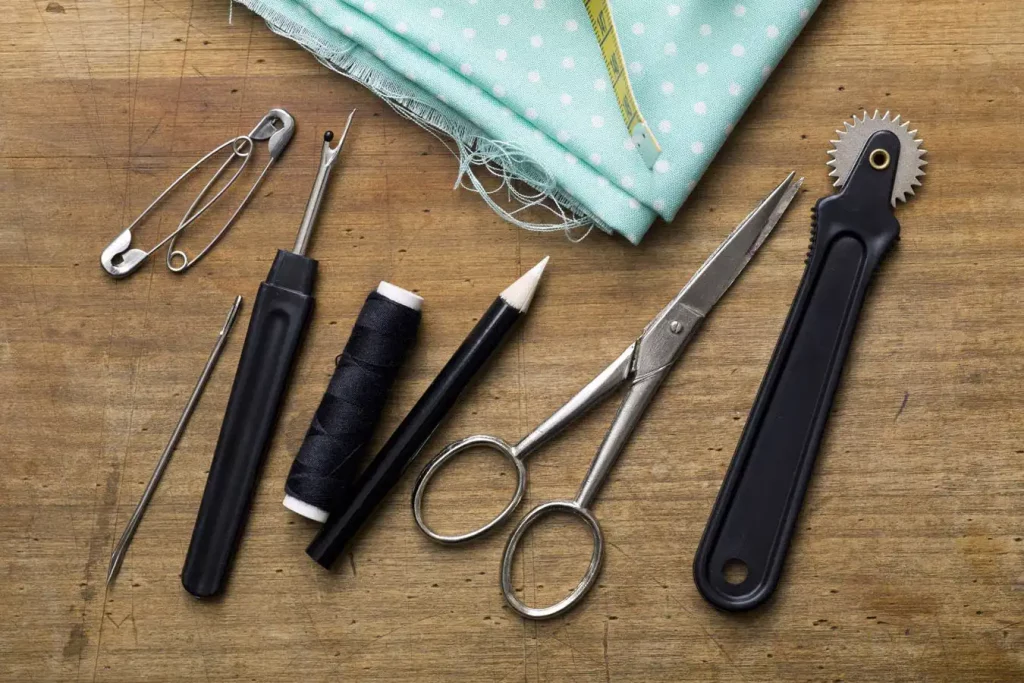
List of Essential Tools
- Seam Ripper: This small tool is crucial for removing embroidery. It has a sharp hook at one end that can get under stitches and cut them without damaging the fabric.
- Tweezers: A pair of tweezers is handy for pulling out loose threads once you’ve cut them with the seam ripper.
- Magnifying Glass: If the embroidery is very intricate or if you’re dealing with small, tight stitches, a magnifying glass will help you see the stitches better.
- Small Scissors: These are useful for cutting threads where a seam ripper might be too bulky.
- Lint Roller: After you remove the stitches, you’ll have a lot of loose threads. A lint roller will help you clean up quickly.
Where to Purchase These Tools
You can find all these tools at your local craft or sewing store. They’re standard items in any sewing kit, so they should be easy to find. If you prefer shopping online, websites like Amazon, eBay, and Etsy also sell these tools. Remember to read reviews before purchasing to ensure you’re getting quality products.
Read more: How to Loosen Backpack Straps
Step-by-Step Guide to Remove Embroidery from a Backpack
Armed with your tools and a whole lot of patience, you’re ready to embark on the embroidery removal process. Let’s break it down step by step.
Preparing the Backpack for Embroidery Removal
Before you start, clean your workspace and lay out all your tools. You don’t want to hunt for your seam ripper mid-process. Then, place your backpack on a flat surface and stretch out the area with the embroidery as much as possible. This will give you a clear view and easy access to the stitches.
Detailed Process of Removing the Embroidery
- Use the seam ripper to carefully cut the stitches on the underside of the embroidery. Aim to cut every third or fourth stitch to loosen the thread.
- Once you’ve cut a few stitches, flip the backpack over and use your tweezers to pull out the loose threads from the front.
- Repeat this process until you’ve removed all the embroidery. Take your time and be patient – rushing could damage the fabric.
How to Handle Difficult Areas
If the embroidery is very dense or in a hard-to-reach spot, take extra care. Use your magnifying glass to better see the stitches. In these instances, small scissors might be more efficient than a seam ripper.
Learn more: How to Wash a Polyester Backpack
Potential Risks and How to Avoid Them
As with any DIY project, there are potential risks involved in removing embroidery. Here’s how to navigate them.
Possible Damages During Removal
If you’re not careful, you might rip or puncture the fabric, especially if the backpack material is delicate. You might also notice an imprint or discoloration on the fabric where the embroidery used to be.
Tips to Minimize Damages
- Go slow: Taking your time will minimize the risk of ripping the fabric.
- Test in an inconspicuous area: If possible, try removing a small section of the embroidery in a less noticeable spot to get the hang of it.
- Clean up promptly: After removal, clean the area with a mild fabric cleaner to remove any residue or discoloration.
Removing embroidery from a backpack may seem daunting, but with the right tools, a good understanding of the process, and a bit of patience, you can definitely achieve a clean, embroidery-free backpack.
What to Do After Embroidery Removal
Now that you have successfully removed the embroidery from your backpack, you might be wondering what’s next. Here’s how to clean your backpack post-removal and some options for covering the previously embroidered area.
How to Clean and Care for Your Backpack Post-Removal
After removing the embroidery, there will likely be small thread particles stuck to the fabric. Use your lint roller or a piece of sticky tape to pick up the loose threads. Then, depending on the material of your backpack, you might want to give it a gentle wash.
Use a mild detergent and avoid vigorous scrubbing around the area where the embroidery was removed. Allow the backpack to air dry completely before using it again.
Options for Covering the Previously Embroidered Area
Depending on how the embroidery was attached, there might be visible needle holes or even a color difference where the design once was. If you’re not keen on this look, there are a few ways you can cover it:
- Iron-on Patches: These come in a wide variety of designs and are easy to apply. Just make sure the material of your backpack can handle the heat of an iron.
- Sew-on Patches: Similar to iron-on patches but require a bit more effort to apply. The advantage is they are usually more secure and durable.
- Repaint: If your backpack is made of a suitable material, you could use fabric paint to create a new design.
When to Seek Professional Help
While it’s perfectly possible to remove embroidery from a backpack at home, there may be instances when seeking professional help is the best course of action.
Situations Where Professional Removal is Advised
If the embroidery is particularly intricate, it’s attached to a delicate or expensive material, or it’s causing a significant amount of stress to remove, then it’s time to call in a professional. Similarly, if you’ve started the process and it’s not going well – for example, if you’ve caused damage to the fabric – a professional may be able to salvage the situation.
How to Find a Reliable Professional for the Job
Look for a local tailor or seamstress, as they often offer embroidery removal services. Online reviews and word-of-mouth recommendations are also useful. Make sure to communicate clearly about what you want done and any concerns you might have.
FAQs about Remove Embroidery From a Backpack
Can I remove embroidery from a backpack?
Yes, you can remove embroidery from a backpack. This process involves carefully unpicking the stitches with the appropriate tools like seam rippers or small embroidery scissors.
How do you remove company embroidery from a backpack?
Company embroidery can be removed from a backpack similarly to any other embroidery. The removal process involves identifying the backside of the embroidery, carefully snipping the threads, and pulling them out without damaging the fabric of the backpack.
How do you cover an embroidered logo on a backpack?
To cover an embroidered logo on a backpack, you can sew a patch or a piece of fabric over the logo. Alternatively, you can consider re-embroidering the area with a design of your choice.
How do you remove stitches from a bag?
To remove stitches from a bag, you can use a seam ripper or small scissors to carefully cut and remove each stitch. Remember to pull out stitches gently to avoid tearing or damaging the bag's fabric.
Last words
Whether you’ve outgrown the design, made a mistake, or bought a pre-loved embroidered backpack, removing embroidery is an achievable task for anyone willing to invest a bit of time and patience.
The key is to take it slow, use the right tools, and know when it’s time to call in a professional. So, don’t be afraid to take control and customize your backpack to suit your current style. After all, it’s more than just a functional item – it’s a reflection of who you are. Happy DIY-ing!
To know more: How to Make Backpack Straps Longer