Hey, fellow adventurers! 😎 So, you wanna master the art of Foil Packet Veggies?
Trust me, you’ve stumbled upon the ultimate guide.
We’re not just talking potatoes and carrots here; we’re diving into a full rainbow of flavors.
If you love camping as much as I do, you know that a hearty meal by the campfire is part of the experience.
Ready to tantalize your taste buds without dirtying a pile of dishes? Let’s dig in!
Why Foil Packet Cooking?
Okay, why are foil packets the go-to for outdoor cooking, you ask?
First off, convenience is king here.
Just chop up your veggies, toss them into a foil packet, and you’re good to go.
Pop that packet onto the grill or into the embers, and voilà!
Your meal practically cooks itself, leaving you more time to, say, count the stars or swap spooky campfire tales.
But here’s the cherry on top: the cleanup, or lack thereof.
Seriously, say goodbye to scrubbing burnt saucepans at a murky campsite.
All you have to do is toss the used foil into the recycling bin (always be eco-conscious, folks!).
Lastly, versatility. You can basically put any veggies in these packets.
Want Mediterranean vibes? Throw in some zucchini and cherry tomatoes.
Going for an Asian twist? Add a splash of soy sauce. The possibilities are endless.
To know more: The Secrets of Campfire Foil Packet Cooking
Choosing Your Veggies: The Basics
Alright, the veggies you pick can make or break your foil packet meal.
Let’s get into the nuts and bolts of it.
Starchy vs. Non-Starchy Vegetables
First, consider the cooking time.
Starchy veggies like potatoes and sweet potatoes take longer to cook.
On the flip side, non-starchy ones like bell peppers and zucchini will be ready in a jiffy.
So, think about this when you’re planning your mix.
Here’s a pro tip: Cut starchy veggies into smaller pieces to speed up the cooking time.
Trust me, no one wants to wait an extra half hour just because your potato wedges are too thick.
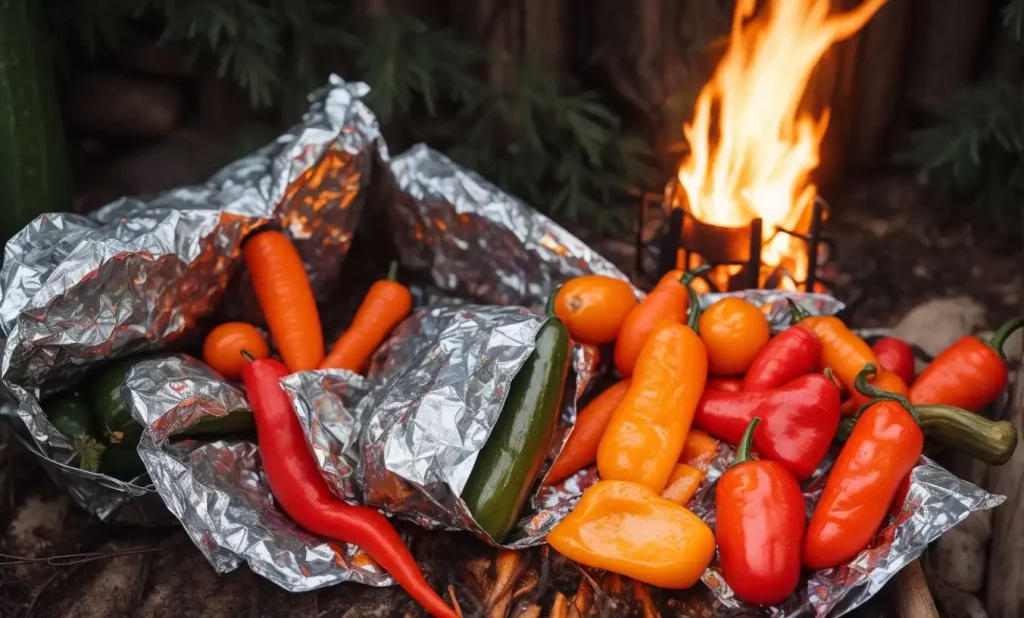
Colorful Choices
Aim for a full spectrum of colors to not only make your foil packet visually appealing but also nutritionally balanced.
For example, red bell peppers are packed with vitamin C, while purple eggplants come loaded with antioxidants.
Go for carrots if you’re looking for a beta-carotene boost.
Yellow squash? Yep, it’s got vitamin K.
And don’t forget your leafy greens like spinach or kale; they are iron-rich bad boys.
So, the more colors you incorporate, the more nutrients you’re getting.
Alright, I hope that sets you up for a vibrant and delicious foil packet adventure.
Stay tuned for more tips, and as always, happy camping! 🌲🔥
Learn more: Sides and Salads in Foil Packets
Seasoning: The Key to Flavor
Ah, seasoning! The very essence of your foil packet veggies.
We’re moving beyond basic salt and pepper here, my friends.
Seasoning is what turns your garden-variety vegetables into a campfire feast worth remembering.
Whether you’re a fan of zesty, spicy, or herbaceous flavors, the right seasoning is like the conductor of your food symphony.
Let’s unravel the mystery and jazz up your veggies like a pro.
Dry vs. Wet Seasoning
First, let’s talk texture. Ever wonder why some veggies come out crispy while others seem kinda soggy?
Well, the type of seasoning you use plays a role.
Dry Seasoning: Think herbs, spices, and even some grated cheese.
It gives you that crunchy bite we all love, perfect for potatoes or root veggies.
Dry seasoning is straightforward; sprinkle, toss, and you’re golden.
Wet Seasoning: Here’s where liquids like olive oil, soy sauce, or even a dash of wine come into play.
Wet seasoning keeps your veggies moist and can infuse deeper flavors, especially if you let them marinate for a bit.
However, be cautious. Too much liquid, and you might end up steaming your veggies instead of roasting them.
Remember, you can combine both.
A sprinkle of garlic powder mixed with a splash of olive oil? Divine!
Homemade vs. Store-Bought
Alright, let’s get into the nitty-gritty: To blend or not to blend?
Homemade Seasoning: This is where your inner chef can go wild.
Mix herbs and spices to create your own signature blend.
Plus, you control what goes in—no added preservatives or weird chemicals.
The downside? It takes a bit of time and planning, especially if you’re looking for a complex flavor profile.
Store-Bought Seasoning: Great if you’re in a pinch or if you’re not confident in your blending skills yet.
They come in a plethora of options from Italian to Cajun, even specialized blends for veggies.
But watch out for those sodium levels and added preservatives; they can sneak up on you.
In essence, it boils down to what you value more: convenience or control.
Either way, the right seasoning will make your foil packet veggies the star of your outdoor culinary show.
Alright, seasoning guru, that’s the lowdown for now.
Can’t wait to hear your thoughts or any special seasoning tips you might have up your sleeve.
Keep those fires burning and those veggies seasoning! 🔥🌶🌿
Steps to Create Your Veggie Foil Packet
Alright, you’ve got your veggies picked out and your seasoning game is strong.
What’s next?
The grand finale—crafting your foil packet masterpiece!
Think of it as wrapping a present, but instead of a gift, there’s a mini feast inside waiting to happen.
This section is like your go-to manual, transforming you from a camping cook to an outdoor chef.
Let’s roll up those sleeves and get down to business.
Preparation
Before you start, you’re gonna need a few essentials:
- Heavy-duty aluminum foil: Don’t skimp on quality; you don’t want any leaks or tears.
- Cooking spray or a brush and some olive oil: This helps prevent sticking.
- Veggies and seasoning: The stars of the show!
Step 1: Cut and chop your veggies into even sizes.
Step 2: Get a big ol’ bowl, throw those veggies in, and give them a good toss with your chosen seasoning.
Step 3: Tear off pieces of aluminum foil, about 12-14 inches long.
Step 4: Lightly spray or brush the shiny side of the foil with oil. Trust me, it’s the non-stick surface you never knew you needed.
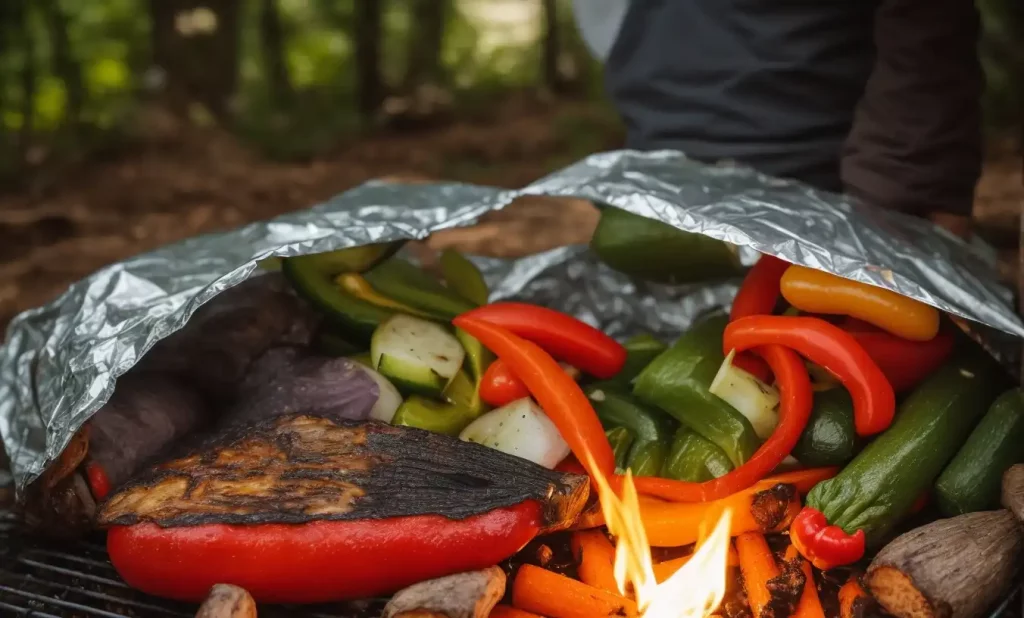
Layering
Layering isn’t just for fashion; it’s crucial for cooking too!
Step 1: Place the sturdier veggies like potatoes or carrots at the bottom. They can handle the heat.
Step 2: Layer softer veggies like tomatoes or bell peppers on top.
Step 3: Want to go all out? Add a sprinkle of cheese or a dash of some extra spices between layers. Oh yeah!
Remember, you’re aiming for even distribution, so each bite is a little slice of heaven.
Sealing and Cooking
We’re almost there, hang tight!
Step 1: Fold the foil over your veggie mound.
Step 2: Make small folds along the edges to seal it up nice and tight. Double check—no escape routes allowed!
Step 3: Place your foil packets on the grill or campfire grate.
Step 4: Cooking times can vary based on your fire and veggie types, but generally, 10-20 minutes should do the trick.
Step 5: Carefully open one packet to check for doneness. Watch out for that steam!
Step 6: If it’s ready, dig in! If not, seal it back up and give it a few more minutes.
And voila! You’ve just created a foil packet filled with veggie goodness that’s as practical as it is delicious.
That’s your guide, my outdoor culinary aficionado. So, what are you waiting for?
The great outdoors—and your taste buds—are calling.
Grilling vs. Campfire: Cooking Methods Compared
So you’ve got your foil packets all set and you’re ready to cook, but wait a minute—should you throw them on the grill or go full-on caveman with a campfire?
Good question, and oh boy, do I have answers!
Both methods have their pros and cons, and it often boils down to what you’re looking for in your outdoor culinary adventure.
Grilling might offer more control, but a campfire gives you that authentic, rugged experience.
Let’s break it down and see what’s cooking.
Grilling: The Controlled Maestro
First off, grilling is like the Beethoven of outdoor cooking—precise, controlled, and masterful.
Pros:
- Temperature Control: Most grills come with adjustable heat settings. You can practically dial in your desired temperature, which is amazing for cooking your veggies to perfection.
- Even Cooking: With a flat grate and consistent heat, you’re more likely to get evenly cooked veggies. No more guessing games!
- Safety: Grills are designed to be controlled environments, reducing the risk of those scary flare-ups or unintended forest fires.
Cons:
- Portability: Unless you have one of those mini portable grills, you’re kind of stuck where the grill is.
- Flavor: You might miss out on that smoky, woody flavor that only a campfire can impart.
Campfire: The Wild Card
Campfire cooking is like jazz. It’s unpredictable, a little wild, but oh-so rewarding when done right.
Pros:
- Flavor Country: A campfire gives you a smoky, woodsy flavor that’s hard to replicate. Each wood type offers a different flavor profile, adding a new layer of excitement.
- The Experience: There’s something deeply satisfying about cooking over an open flame. It’s raw, it’s primal, and let’s be real—it makes for an awesome Instagram story.
Cons:
- Heat Inconsistency: Flames can be fickle, my friend. One moment it’s too hot, the next it’s too low. You’ll need to keep an eye on it.
- Safety: Campfires require vigilance. Always have water or a fire extinguisher handy, and make sure you’re following all fire safety guidelines.
So, whether you’re a grillmaster or a campfire connoisseur, each method offers its own set of thrills and challenges.
Choose your fighter and let those foil packet veggies shine!
Tips for Perfect Foil Packet Veggies
Alright, we’ve covered a lot of ground, but before you head out to conquer the wilderness with your culinary skills, let’s arm you with some nifty tips and tricks.
- Choose Heavy-Duty Foil: Don’t skimp on the foil quality. A heavy-duty one will withstand the heat and keep all the juices and flavors in.
- Double Up: Sometimes, it’s wise to use two layers of foil to prevent any leaking or tearing. Trust me, cleaning up a campfire isn’t fun.
- Pre-Cut Your Veggies: Time is of the essence when you’re out enjoying nature. Do the chopping at home so you can get straight to cooking.
- Season Generously But Wisely: Yes, spices are life, but remember, some herbs burn easily. Add delicate herbs like basil or dill toward the end.
- Mind the Cooking Time: Different veggies have different cooking times. Harder ones like potatoes and carrots take longer than bell peppers or zucchini.
- Test for Doneness: Use a fork to check if the veggies are cooked. It should slide through easily if they’re done.
- Handle with Care: Foil packets can be hot! Use tongs or oven mitts to handle them. No one wants a vacation ruined by a burn.
Conclusion
And there we have it—your ultimate guide to making lip-smacking, nutritious, and hassle-free foil packet veggies!
Whether you opt for the precision of grilling or the wild spirit of a campfire, you’ve got the know-how to make your outdoor cooking a vibrant, delicious experience.
Remember, the quality of your foil and the veggies you choose sets the foundation. Seasoning is your playground, and your cooking method is the final brushstroke in your masterpiece.
So go ahead, gather your ingredients and venture out. Happy cooking, outdoor chefs! 🌿🔥