Ever thought about how to make a bucket light for camping?
Hi, I’m Ovi Tanchangya, your guide in this illuminating journey of DIY skills.
This article is your torchbearer, aiming to turn a simple bucket into a brilliant camping accessory.
Get ready to add a new skill to your camping repertoire, as we dive into this hands-on guide!
Can’t you just picture the warm glow of your handmade light, enhancing those beautiful campfire nights? Let’s embark on this enlightening adventure together!
Understanding the Basics
Before we start, it’s essential to understand the core concept of a bucket light, the materials we’ll need, and the tools required for assembly. This understanding forms the bedrock of our project and ensures we create a high-quality, durable, and reliable bucket light.
Principles of a Bucket Light
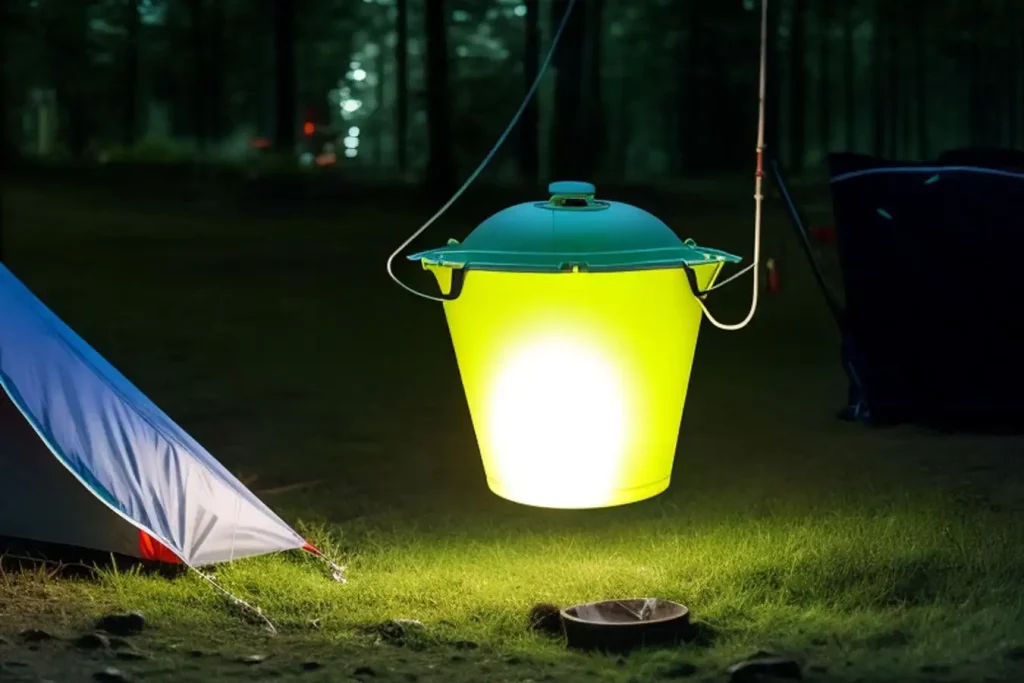
A bucket light, as the name suggests, is essentially a light source encased within a bucket. The primary function of the bucket is to evenly disperse the light in a 360-degree radius, providing ample illumination to your campsite without blinding anyone. The principles behind it are simple: you need a light source, usually LED for energy efficiency, a bucket to house this light source, and a way to power the light – typically batteries for portability.
Materials Needed for Bucket Light
For this project, we will need the following materials:
- A 5-gallon white plastic bucket – white helps with the light dispersion.
- An LED light strip – provides ample light with low energy consumption.
- A 12-volt battery – to power our light.
- Clear silicone adhesive – to secure the LED strip within the bucket.
- An on/off switch – for easy control of the light.
Tools Required for Assembly
Here’s a list of tools we’ll need to bring our bucket light to life:
- A Drill – for creating holes for the on/off switch.
- A Wire Stripper – for preparing our LED light strip.
- A Silicone Gun – for applying the silicone adhesive.
- Screwdriver – for installing the switch.
Now that we have our materials and tools ready, in the next part of our journey, we’ll delve into the step-by-step assembly of our bucket light. Stay tuned for an exciting and enlightening DIY experience that will brighten your camping nights!
Step-by-Step Guide to Making a Bucket Light for Camping
With our tools and materials ready, let’s jump into the exciting part – creating the bucket light! This step-by-step guide will walk you through the process, making it easy and enjoyable, even if you’ve never undertaken a DIY project before.
Preparing Your Bucket
The first step in our DIY adventure is to get our bucket ready. You can choose a brand-new bucket or repurpose an old one lying around in your garage. A 5-gallon white bucket is perfect due to its size and light-dispersing properties.
Before we start drilling, it’s essential to follow some safety precautions. Always remember to wear safety goggles to protect your eyes from dust or any flying particles. It’s also wise to work in a well-ventilated area to avoid inhalation of plastic dust.
Once you’re safe and ready, mark a spot on the side of the bucket to install the on/off switch. Then, using your drill, create a hole large enough to snugly fit the switch. It’s all about precision here, so take your time and make sure the hole is neither too big nor too small.
Installing the Light Source
Our light source of choice for this project is an LED light strip. LEDs are great because they’re energy-efficient, produce bright light, and have a long lifespan. Moreover, an LED strip can easily line the interior circumference of the bucket, providing a consistent, well-distributed light.
Cut your LED strip to a length that fits the inner perimeter of the bucket. Make sure to cut only at the designated spots on the strip to avoid damaging the lights. Then, using the clear silicone adhesive, attach the LED strip around the inside edge of the bucket. Make sure to smooth out any bumps or folds for even light distribution.
Installing the Power Source
When it comes to powering our bucket light, a 12-volt battery is an excellent choice. It’s portable, provides ample power, and is safe to use.
Now, the most critical aspect here is wiring. Connect the positive (red) wire from the LED strip to the positive terminal of the battery, and the negative (black) wire to the negative terminal. Then, connect the wires from the other side of the switch to the LED strip. Remember to match the polarity correctly; otherwise, the lights will not work. If you’re not comfortable with wiring, it’s perfectly fine to seek help from someone experienced. Safety first!
Securing the Components and Final Assembly
Once the wiring is done, use some more silicone adhesive to secure the battery and switch inside the bucket. Give it enough time to dry before testing.
With everything in place, it’s time for the final assembly. Close the bucket, turn on the switch, and voila! Your very own bucket light is ready to light up your camping adventures!
Remember, the essence of a DIY project like this lies in learning, experimenting, and of course, having fun! Not only have you created a functional camping tool, but you’ve also added your personal touch to it, making the camping experience all the more special.
In the spirit of sharing and helping others, why not show off your new bucket light at your next camping trip? Who knows, you might inspire others to start their own DIY projects!
Learn more: How to Use a Backpack With a USB Charging Port
Tips for Using Your Bucket Light
Congratulations on crafting your very own bucket light! Now, let’s talk about using it safely and efficiently during your camping trips.
Always remember that even though our bucket light is powered by a low voltage battery, safety precautions are still necessary. Keep the light away from water sources to avoid any risk of short circuits. Also, always switch off the light when not in use to prolong battery life.
Maintenance is key for the longevity of your bucket light. After each trip, clean the exterior of the bucket to remove any dirt or grime. Ensure the LED strip inside the bucket is dust-free, and check the wiring for any possible damage.
For storage, remove the battery to prevent any unwanted power drain. Store your bucket light in a cool, dry place away from direct sunlight.
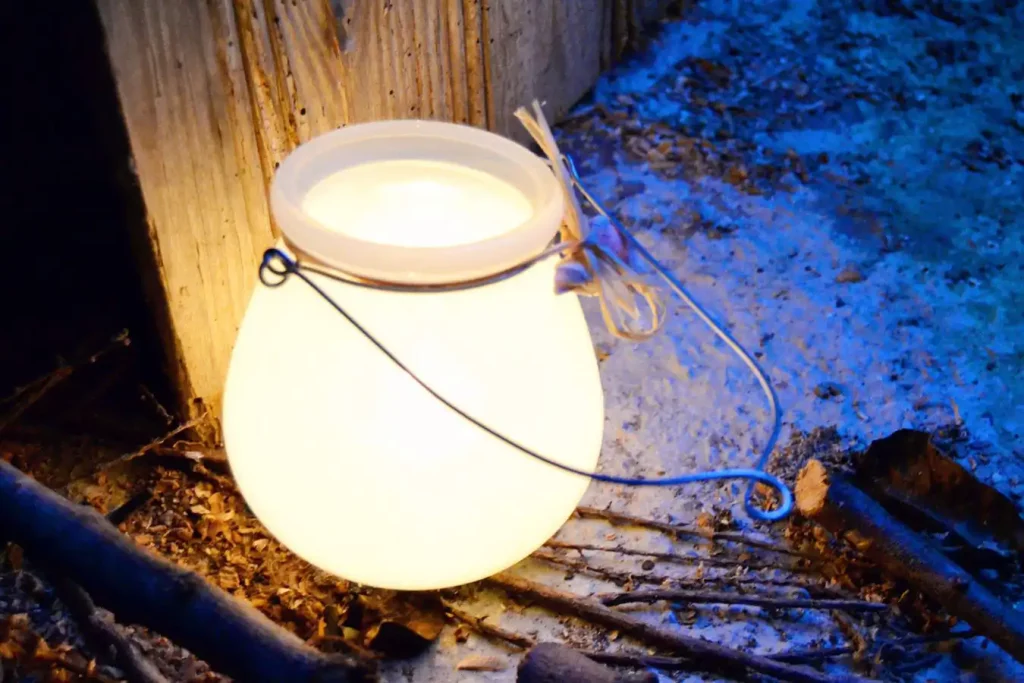
Lastly, to maximize light dispersion, place your bucket light at a slightly elevated location. This will ensure that the light spreads evenly across the campsite.
Know more: How to Use a Power Inverter While Camping
Customizing Your Bucket Light
The beauty of DIY is that you can add your personal touch to make your project unique. For instance, you can use colored LED lights to create different mood lighting for your campsite. How about some soothing blue or energizing green?
Another customization option is to add a dimmer switch. This will allow you to control the brightness of the light, creating the perfect atmosphere for your night under the stars.
Feel free to decorate the exterior of the bucket, too! Some reflective stickers could add an element of safety, making your light more visible from a distance. The options are limitless!
To know more: How to Keep Animals Away From Campsite
FAQs about Make a Bucket Light for Camping
How do you make a bucket light for camping?
A bucket light for camping can be made by installing a LED light strip inside a clear or translucent bucket, powered by batteries or solar panels.
How do you make a camping light?
Creating a camping light can be as simple as using a LED bulb attached to a portable power source or utilizing a rechargeable camping lantern.
How many lumens do you need to light a campsite?
To adequately light a campsite, you'll need at least 200-300 lumens, although this can vary depending on the size of the campsite and personal preference.
How do you light a campsite without a fire?
Lighting a campsite without a fire can be achieved through use of LED lanterns, headlamps, battery-operated fairy lights, or solar powered lamps.
Conclusion
There you have it, friends – a comprehensive guide on how to make a DIY bucket light for your camping trips. This project isn’t just about saving money or getting more light at your campsite; it’s about the sense of accomplishment that comes from creating something useful with your own hands.
So, whether you’re an experienced camper or a beginner, I hope this project adds a little more light and a lot more joy to your outdoor adventures. Remember, it’s not just about following these steps – feel free to experiment, make changes, and truly make this bucket light your own.
Here’s to brighter camping experiences and the joy of DIY! Until next time, happy camping, and keep those creative juices flowing!
Know more: How to Make a Camping Tent from Scratch