Ever wondered how to make a camping tent from scratch? As an ardent outdoor enthusiast and blogger, I’m here to guide you through this exciting endeavor.
Our purpose today?
To equip you with the knowledge and skills to build your own tent, enabling a truly personalized camping experience.
This step-by-step guide will take you on an adventure, transforming raw materials into a cozy shelter.
So, ready your tools, and let’s embark on this hands-on journey towards self-reliance in the great outdoors!
What You Need to Know Before Making a Tent
Before we start gathering materials and tools, it’s essential to understand what exactly goes into the process of making a tent. Not all tents are created equal, and what works for a summer festival may not stand up to a mountaineering expedition.
Understand Your Tent Requirements
First things first: Define your tent’s purpose. Are you heading for a chill weekend at a music festival, a family trip to a national park, or an arduous solo hike in challenging weather conditions? Your tent’s design will depend on these variables.
Consider the size. How many people should it accommodate? A cozy two-person tent is far easier to make than a family-size one. Also, consider the weather conditions you’ll likely encounter. If you plan to camp in a rainy area, waterproof materials are a must. For windy conditions, you’ll need a tent that can withstand strong gusts. And for cold weather camping, insulation is key.
Materials Needed for Tent Making
Your choice of materials will largely depend on your tent’s purpose. Here’s a simple list to get you started:
- Tent Fabric: Rip-stop nylon or polyester are popular choices due to their durability, lightness, and water-resistance.
- Poles: Aluminum poles are durable yet lightweight. You can also use flexible fiberglass poles for dome tents.
- Groundsheet: A thick, durable plastic sheet will protect your tent from the wet and rocky ground.
- Zippers: Heavy-duty zippers ensure your tent entrance is secure and weatherproof.
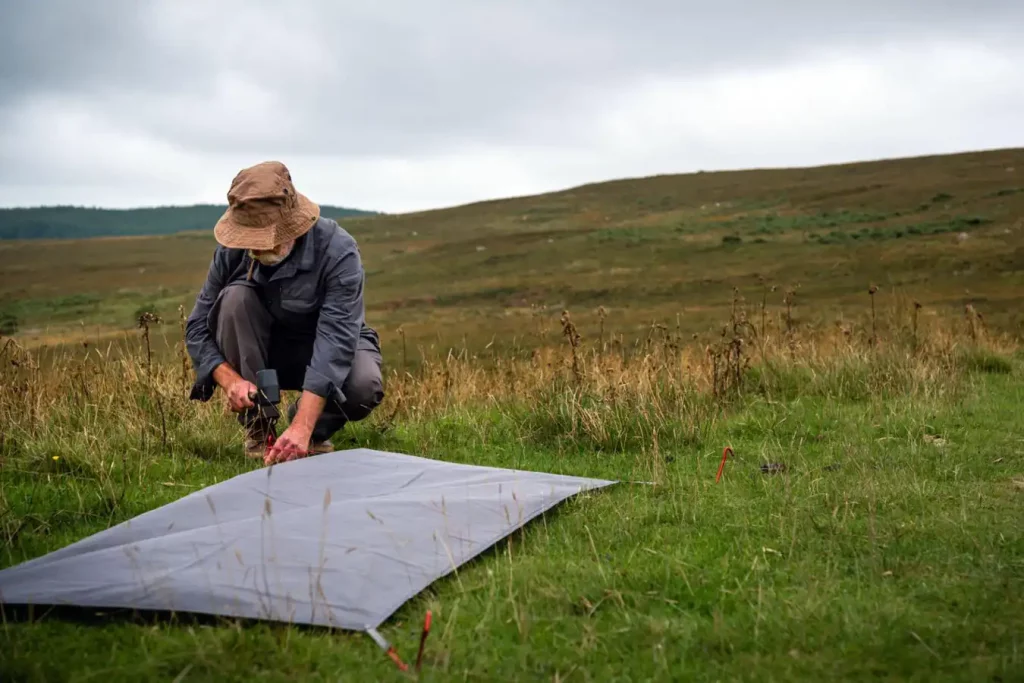
- Guylines and Stakes: For securing your tent to the ground. Go for high-visibility guylines to avoid tripping hazards.
- Seam Sealer: To waterproof the seams of your tent.
Remember, the goal is not just to build a tent, but a reliable shelter that suits your camping needs and stands the test of time.
Tools Needed for Tent Making
Here are the tools you will need:
- Sewing Machine: For stitching your tent materials together. If you’re handy with a needle and thread, you could also sew by hand!
- Scissors: For cutting fabric and threads.
- Tape Measure: For accurate measurements.
- Marker: For marking cuts and seams on your fabric.
- Grommet Kit: For creating holes to thread your guylines.
- Hammer: For securing your tent stakes into the ground.
- Seam Sealer Applicator: Often a brush or sponge for applying the seam sealer.
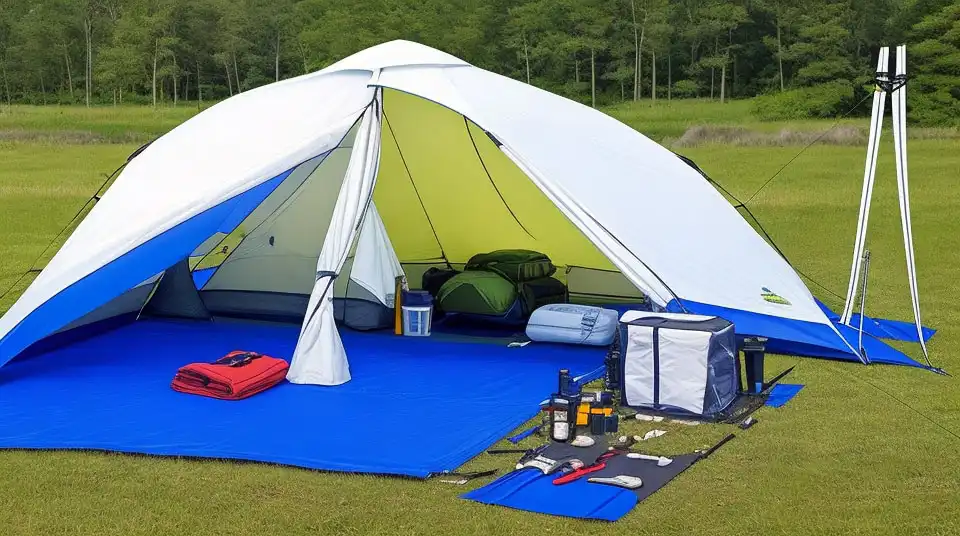
Before you start, lay out your tools and materials, so everything’s within reach. A well-prepared workspace will make the process smoother and more enjoyable.
Read more: How to Clean a Tent for Camping
Step-By-Step Guide: Building Your Camping Tent from Scratch
Ready to get your hands dirty? Let’s get into the actual process of building your camping tent. Remember, patience and precision are the names of the game. So, take your time and pay attention to detail.
Designing Your Tent
The design stage sets the foundation for your entire project. It’s where you’ll decide on the size, shape, and overall structure of your tent.
Start with a sketch. Based on your requirements, sketch out a design on a piece of paper. Your design should account for the tent’s height, width, length, and door placement. Consider the wind direction and where it’s likely to hit your tent the most – it’s best to have the narrow side facing the wind.
Remember to plan for a vestibule or a porch area, where you can store your boots and other camping gear.

Preparing Your Materials
Once your design is ready, it’s time to prepare your materials.
Start with the tent fabric. Using your measurements from the design phase, measure and mark the fabric. Be sure to add an extra inch on all sides for seams. Once marked, cut the fabric using sharp scissors to ensure clean edges. Repeat this process for the groundsheet.
For the poles, measure and cut them based on your design’s height and width.
Safety is crucial in this step. Always cut away from your body and keep your fingers clear of the cutting line.
Assembling the Tent
Now, the fun part – assembling the tent!
- Start with the tent body. Sew the fabric panels together as per your design. Make sure the seams are on the inside of the tent.
- Attach the groundsheet to the bottom edge of the tent body.
- Sew in the zippers for the doors. Reinforce the seams around the doors for extra strength.
- For pole loops, fold small pieces of fabric into loops, then sew them onto the corners and sides of the tent.
- Slide the poles through the loops and erect the tent.
- Finally, attach guylines to the loops at the corners of the tent and anchor them to the ground using the stakes. This ensures the tent is secure and stable.
Weatherproofing Your Tent
Last but not least, weatherproof your tent. Even if your fabric is water-resistant, the places where it’s sewn together – the seams – can leak if they’re not sealed.
Use a seam sealer to waterproof these areas. Apply it along the inside of all seams, let it dry, then do the same on the outside. For better results, apply the sealer in a well-ventilated area and allow it to dry completely before using the tent.
And there you have it! With some patience and effort, you now have a homemade camping tent ready for your next adventure. Remember, it may not be perfect the first time around, but with each try, you’ll improve and have a tent that you can truly call your own.
Learn more: How Much Should a Backpacking Tent Weigh
Additional Tips and Tricks for DIY Tent Making
Before you dive into the tent making process, here are a few expert pieces of advice and common pitfalls to avoid.
- Test Your Materials: Prior to committing to your full tent design, test stitch and waterproof a small scrap of your chosen fabric. This helps you understand how the material responds to your tools and treatments.
- Ventilation is Crucial: Ensure your design includes enough ventilation. This could be in the form of mesh windows or vents at the top of your tent. Proper airflow can prevent condensation build-up inside the tent.
- Customize for Comfort: Consider integrating pockets on the inside walls for storing small items, or loops on the outside to attach lanterns or other camping gear. Your DIY tent can be as basic or luxurious as you make it!
Read more: What is a Hot Tent
Proper Maintenance and Storage of Your DIY Tent
Now that you’ve got your DIY tent, it’s important to know how to properly maintain and store it. The way you care for your tent can significantly impact its lifespan and functionality.
Cleaning Your Tent After Use
Always clean your tent after every camping trip. Sweep out any dirt or debris, and if needed, wipe down the tent material with a mild soap and water solution. Avoid harsh detergents as they can degrade the tent material and waterproofing. Make sure to thoroughly dry your tent before storing to prevent mold or mildew.
Proper Storage to Increase the Lifespan of Your Tent
Proper storage starts with finding a cool, dry space. Keep your tent in a breathable storage sack if possible. Avoid folding your tent the same way every time as this can weaken the material at the folds. Instead, stuff it loosely into its sack.
Repairing Minor Damages
Don’t despair if you notice a small tear or leak in your tent. With a patch kit, you can easily fix minor damages yourself. Having one on hand, especially when camping, is always a good idea.
To know more: How Much Does a Tent Weigh
FAQs about Make a Camping Tent from Scratch
How do you make a tent with a tarp and rope?
How do you make a homemade outdoor tent?
What size tarp do I need to make a tent?
How do you make your own tent?
See also: What is a 3 Season Tent
Conclusion
We’ve come a long way, haven’t we? From understanding the requirements, gathering materials, and drafting a design to actual tent construction, weatherproofing, and finally the ins and outs of maintenance. It’s been quite a journey!
Remember, making a camping tent from scratch is not just about the end result; it’s about the thrill of the process. So, go ahead, embark on this exciting DIY project. Trust me, there’s nothing quite like the sense of accomplishment and the self-reliance it brings.
Remember, no one becomes an expert overnight, so don’t be afraid to make mistakes. Every error is a chance to learn and improve. Happy camping, and more importantly, happy tent making!
To know more: Are Teepee Tents Good for Camping


