Discovering “how to cook biscuits in a cast iron skillet” is more than just learning a new recipe – it’s an art form steeped in tradition.
I’ve dedicated this article to share my well-loved, tried and true method.
The purpose of this guide is to take you step-by-step through the process, ensuring you bake the most scrumptious, melt-in-your-mouth biscuits every time.
Get ready for your kitchen to be filled with the irresistible aroma of freshly baked biscuits, reminiscent of the great outdoors.
With a bit of guidance, you’ll master this classic baking technique and soon be impressing friends and family with your culinary prowess.
So, strap on your apron, and let’s get cooking – trust me, it’s worth the read!
The Essentials of Cook Biscuits in a Cast Iron Skillet
Understanding the Cast Iron Skillet
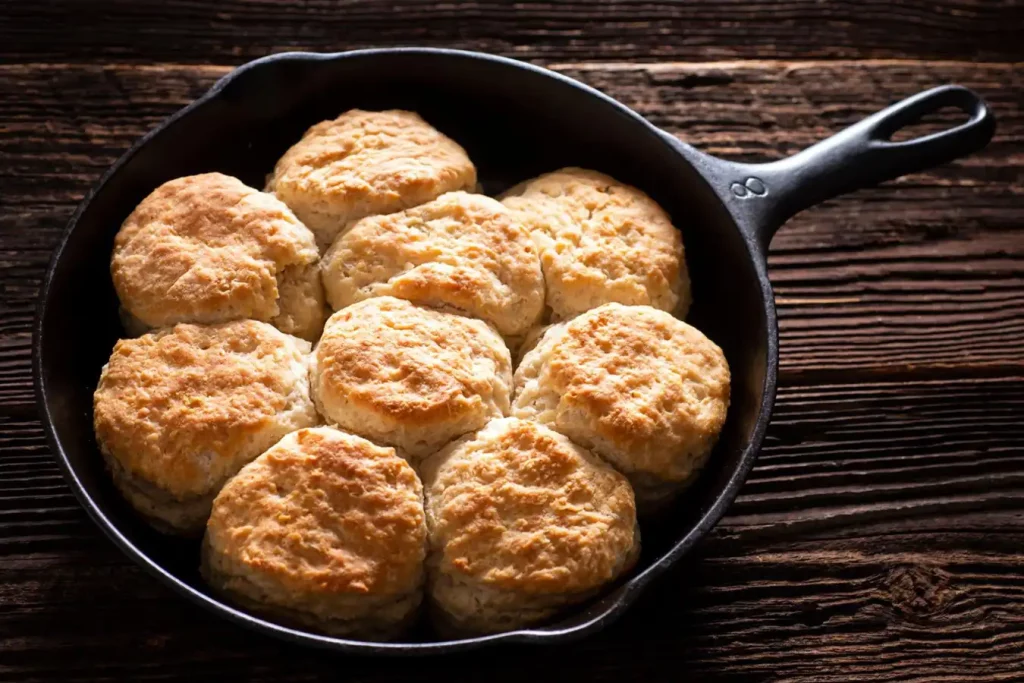
Ah, the cast iron skillet. It’s the symbol of southern cooking and the secret behind the world’s most loved meals. But, why is it so special?
Well, a cast iron skillet offers an unmatched heat distribution and retention capability. You see, it’s like that seasoned camper who knows how to keep the campfire burning evenly – never too hot, never too cold. That’s your cast iron skillet for you. This consistent heat is what gives your biscuits that irresistible golden brown crust while keeping the inside soft and flaky.
The Ideal Biscuit Dough
So, we have our star skillet ready. Now let’s talk dough, the very soul of your biscuit. Imagine, if you will, that you’re crafting a piece of art. The dough is your canvas. It’s what absorbs all the flavors and textures, culminating in that perfect biscuit.
Now, the ideal biscuit dough is a harmonious blend of simple ingredients: flour, baking powder, salt, butter, and milk. But here’s the key – you’ve got to keep everything cold, especially your butter.
Why? Cold butter creates pockets of steam as it melts in the oven, resulting in those flaky layers that make you sigh with delight. And you know that moment when you pull apart a warm biscuit and the steam wafts up, carrying that intoxicating buttery aroma? Yes, that’s the magic of cold butter.
Learn more: How to Clean a Cast Iron Skillet After Cooking Bacon
Preparing Your Cast Iron Skillet for Baking
Preparing a cast iron skillet is like setting up a campsite: you have to get the right spot and conditions to achieve that much-desired harmony. Similarly, the preparation process for our skillet involves two critical steps.
Step 1: Seasoning Your Skillet
Seasoning your skillet is like sharing stories around the campfire: it adds flavor and richness. For our skillet, this means coating it with a thin layer of oil (flaxseed, vegetable, or canola work great) and baking it upside down in a 500°F (260°C) oven for an hour.
This process, when repeated a few times, leads to a natural non-stick surface that enhances the flavor profile of your biscuits.
Step 2: Preheating Your Skillet
Preheating is like warming up before a hike: it prepares the skillet for the task ahead. For our biscuits, this means popping the skillet into the oven while it preheats.
This step ensures that your skillet is hot and ready for the dough, promoting a quick rise and a beautiful golden crust on your biscuits. Remember, a well-prepared cast iron skillet equals biscuits that are one step closer to perfection.
Making Biscuit Dough from Scratch
Making your biscuit dough from scratch is akin to creating your unique camping experience: it’s tailored, it’s personal, and it’s satisfying.
Necessary Ingredients
For our dough, we’ll need:
- 2 cups all-purpose flour
- 1 tablespoon baking powder
- 1/2 teaspoon salt
- 1/2 cup (1 stick) cold unsalted butter, cut into cubes
- 3/4 to 1 cup whole milk
Step-by-Step Guide to Making the Dough
- In a large bowl, combine the flour, baking powder, and salt. Stir until well mixed.
- Add your cold, cubed butter. Now, imagine you’re massaging a weary traveler’s shoulders. That’s how you want to work the butter into the flour until you get a crumbly texture. Those butter bits will soon become pockets of joy in our biscuits!
- Pour in the milk gradually, stirring until the dough begins to come together. Don’t overwork it; otherwise, we might lose that tender, flaky texture. Your dough should be soft and slightly sticky.
- Turn the dough out onto a floured surface and gently knead it a few times to bring it together.
And there you have it, biscuit dough made from scratch! Simple, isn’t it? But remember, great things come from simplicity, just like the best camping experiences come from simply being in nature, surrounded by serenity. Next up, we’ll be shaping and baking our biscuits. It’s where the magic happens, so stay tuned!
Know more: How to Make Steak in a Cast Iron Skillet
Baking Biscuits in Your Cast Iron Skillet
Baking biscuits in a cast iron skillet is like watching a sunrise during camping. It’s not just about the beautiful end result, but also the anticipation and the process that leads to it. Now, let’s dive into the four steps that transform our humble dough into golden, mouth-watering biscuits.
Step 1: Preparing the Skillet and Oven
You’ve already seasoned your skillet, just like a well-planned camping trip. Now it’s time to preheat. Set your oven to 450°F (230°C). Place your seasoned skillet in the oven during this preheat phase. Just as a roaring fire welcomes a cold hiker, a hot skillet will welcome your dough and give it a nice, crusty base.
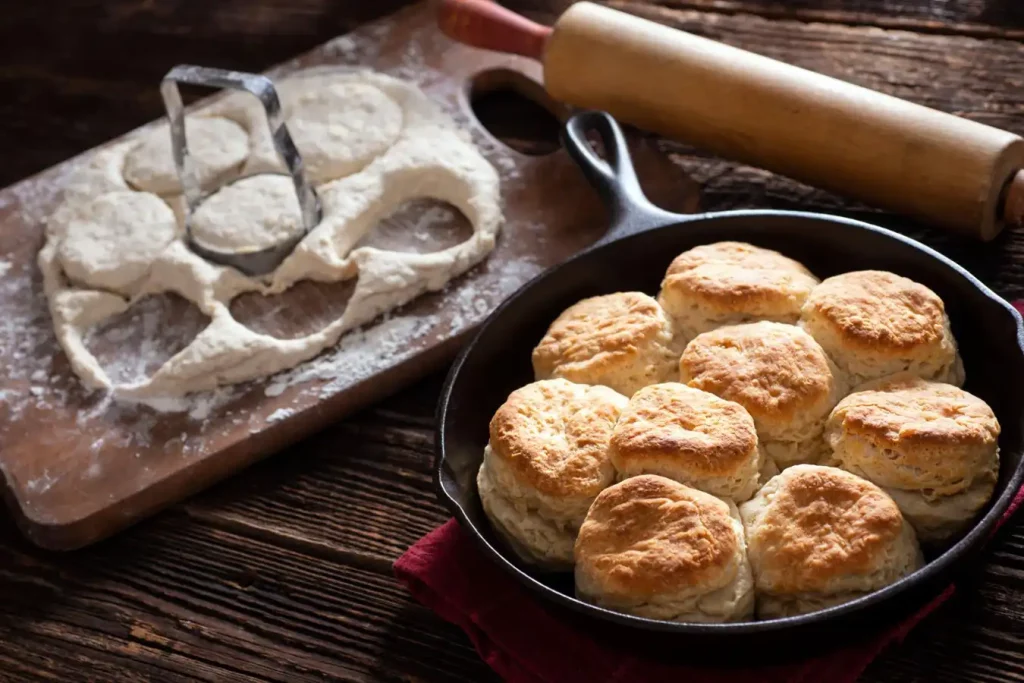
Step 2: Placing the Biscuits in the Skillet
Next, remove the skillet (carefully, it’s hot!) and drop portions of the dough into the skillet, ensuring they touch each other slightly. The way these biscuits support each other as they rise is a lot like how you’d band together with fellow campers in the wild.
Step 3: Baking Time and Temperature
Return your skillet, now full of raw, doughy promise, to the 450°F oven. The heat is high to replicate the intense heat of a campfire and give our biscuits that nice, crusty exterior while keeping the inside soft and fluffy.
Step 4: Checking the Biscuits for Doneness
After about 15-20 minutes, akin to the length of a short rest during a hike, your biscuits should be ready. You’re looking for a beautiful golden brown color, just like the mesmerizing colors of a campfire. To be sure, you can also insert a toothpick into a biscuit; if it comes out clean, they’re done.
You now have freshly baked, homemade biscuits, warm and ready, just like the feeling of fulfillment after a successful camping trip. But the adventure doesn’t stop here! Let’s proceed to our final phase: savoring the fruits of our labor.
Also learn: How to Remove Carbon Buildup on Cast Iron Skillets
Tips and Tricks for Cook Biscuits in a Cast Iron Skillet
Just like planning a camping trip, baking biscuits in a cast iron skillet requires some additional tips and tricks to ensure the best outcome. These insights will be your trusted guides on this baking expedition.
Achieving the Perfect Golden-Brown Top
To get that Instagram-worthy, golden-brown top, brush the tops of your biscuits with melted butter before you put them in the oven, akin to applying sunscreen before embarking on a sunny hike. This process not only aids in achieving the desired color, but also provides a hint of savory richness.
Making Fluffy and Soft Biscuits
The secret to fluffy biscuits lies in the mixing process. Treat your dough like a delicate flower – mix gently and just until your ingredients are combined. Overmixing can lead to dense biscuits, the way an overloaded backpack can hinder an otherwise enjoyable hike.
Flavor Variations and Add-Ins
Feeling adventurous? Just as there are countless trails to explore, there are numerous ways to switch up your biscuits. Add cheese, herbs, or even bits of crispy bacon into the mix. The options are as diverse as the wildlife in the great outdoors.
Also learn: Cook Filet Mignon in Cast Iron Skillet
Serving and Storing Your Cast Iron Skillet Biscuits
After a successful baking adventure, it’s time to serve and store your biscuits. Remember, no food should go to waste, much like a responsible camper leaves no trace.
Best Ways to Serve Biscuits
Biscuits straight from the oven are delightful, as welcoming as a cozy campfire on a chilly night. Split them open, watch the steam escape, and slather them with butter or honey. Alternatively, use them as a base for a hearty biscuits and gravy breakfast, a satisfying reward after a morning hike.
Proper Storage and Reheating Tips
Leftover biscuits can be stored in an airtight container at room temperature, a bit like packing up your gear after breaking camp. When ready to enjoy again, reheat in a preheated oven at 300°F (150°C) for 10-15 minutes. They’ll be as warm and comforting as recalling fond memories of your camping trips.
Troubleshooting Common Biscuit Baking Problems
In the world of outdoor adventures and biscuit baking, you may face occasional obstacles. However, as any seasoned adventurer knows, overcoming these challenges can lead to more rewarding experiences. Here are some quick fixes for common biscuit hurdles:
Dealing with Undercooked Biscuits
Biscuits that are brown on the outside but remain doughy on the inside can be a downer, akin to reaching a lookout point on a hike only to find it fogged in. But don’t worry. The solution is simple: lower your oven temperature and increase baking time. This will allow your biscuits to bake evenly, much like waiting for the fog to clear to enjoy the view.
Addressing Overly Browned Bottoms
Just like how we need to protect our feet during a trek, biscuits also need protection from excess heat. If the bottom of your biscuits brown too much, try reducing the oven temperature. Additionally, you can place an additional baking sheet under your skillet, creating an insulating layer to guard your biscuits from the intense heat.
FAQs about Cook Biscuits in a Cast Iron Skillet
How to Cook Biscuits in a Cast Iron Skillet Without an Oven?
Can You Make Canned Biscuits in a Cast Iron?
Can You Cook Pillsbury Biscuits in a Skillet?
How Do You Bake in a Cast Iron Skillet?
Conclusion
Just like returning from a satisfying outdoor adventure, baking biscuits in a cast iron skillet is an experience filled with warmth and fulfillment. This traditional cooking method, with its simplicity and rustic charm, makes the humble biscuit a hero of comfort food. It’s a journey of aroma, texture, and taste that starts with basic ingredients and ends with delightful biscuits.
So what’s next? Why, more biscuit baking adventures, of course! Just as every hiking trail offers unique sights and sounds, each baking experience also has its own tales to tell. You can now confidently embark on your own biscuit baking journey, equipped with all the knowledge you need. Remember, the key to successful biscuit baking is understanding the process, being patient, and enjoying the journey.
I urge you to get your skillet out of its hibernation, dust off the flour, and let the comforting aroma of freshly baked biscuits fill your kitchen. Happy Biscuit Baking! Let the aroma of your biscuits be the ‘campfire smoke’ in your ‘mechanical society’. Keep exploring, keep learning, and most importantly, keep baking.