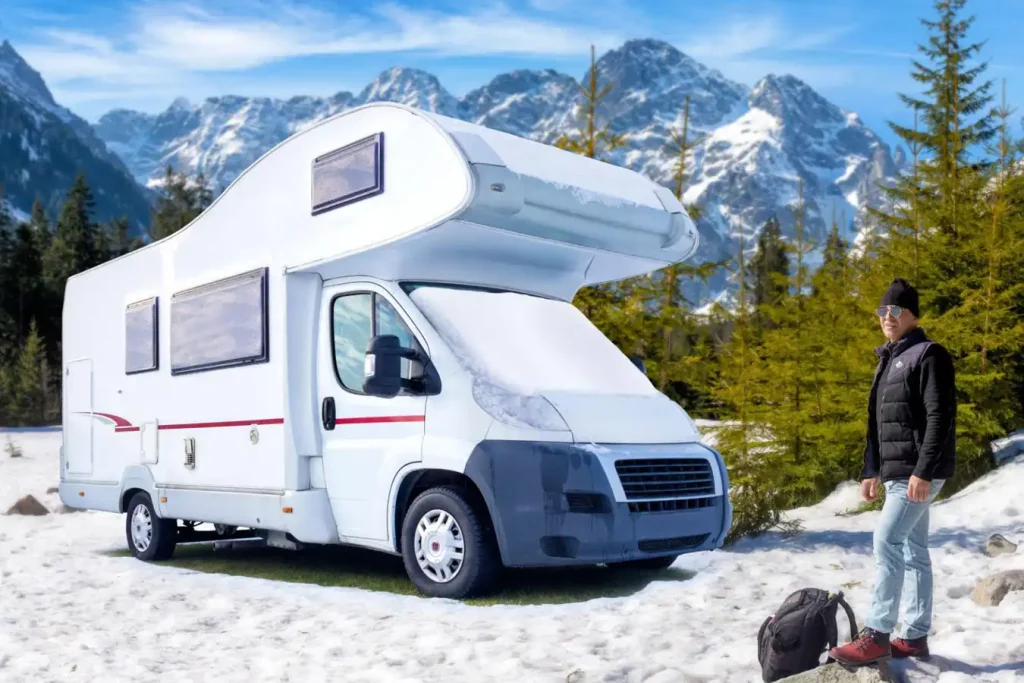
Hello, fellow outdoor enthusiasts! This is Ovi Tanchangya, your trusty guide through the wilderness of outdoor living. Today, I’m going to take you on an adventure that doesn’t involve hiking trails or setting up tents, but it’s every bit as important to us campers. We’re going to dive into the essential world of winterizing your camper.
We’ve written before about how to insulate a camper for winter use. In this article, we will discuss everything clearly and step-by-step about how to winterize a camper easily with the eight steps below.
I remember my first year with my friend camper. It was a dream come true until I found myself facing the cold gusts of winter unprepared, leaving my precious camper in jeopardy. It’s a story I’d like to help you avoid, so let’s get started.
Understanding the Basics of Winterization
Before we move on to the action, let’s make sure we’re all on the same page about the basics of winterization. You wouldn’t lace up your hiking boots without a map, would you? The same goes for winterizing your camper.
What is Winterization?
Simply put, winterization is the process of preparing your camper to withstand the harsh conditions of winter. It’s like packing the right gear before embarking on a winter expedition. You wouldn’t brave a snowstorm in a T-shirt, right? So why should your camper face the frost without the right preparation?
Why is Winterizing Your Camper Important?
If you’ve spent any time camping in winter, you’ll know that it’s not just about the beauty of snow-capped trees. It can be harsh out there. The cold doesn’t just bite at your cheeks; it can creep into your camper, freeze your water system, and wreak all kinds of havoc. A frozen water pump or a busted pipe is no fun, especially when spring comes around, and you’re ready to hit the road again.
I’ll never forget the spring when I stepped into my camper, ready for the season’s first trip, only to find a pipe had burst. It was a chilly reminder of why winterizing is a crucial part of camper care.
When is the Right Time to Winterize Your Camper?
I’d love to give you a one-size-fits-all answer here, but the truth is, it depends. Generally, the best time to winterize your camper is before the first frost sets in. When you feel that nip in the air and see the leaves starting to change, it’s a good sign that it’s time to start thinking about winterizing.
Remember my story about the frozen water pump? Well, that happened because I waited too long, thinking one more week wouldn’t hurt. I learned the hard way that when it comes to winterizing, it’s better to be early than late.
Learn more: How to Live in a Camper in the Winter
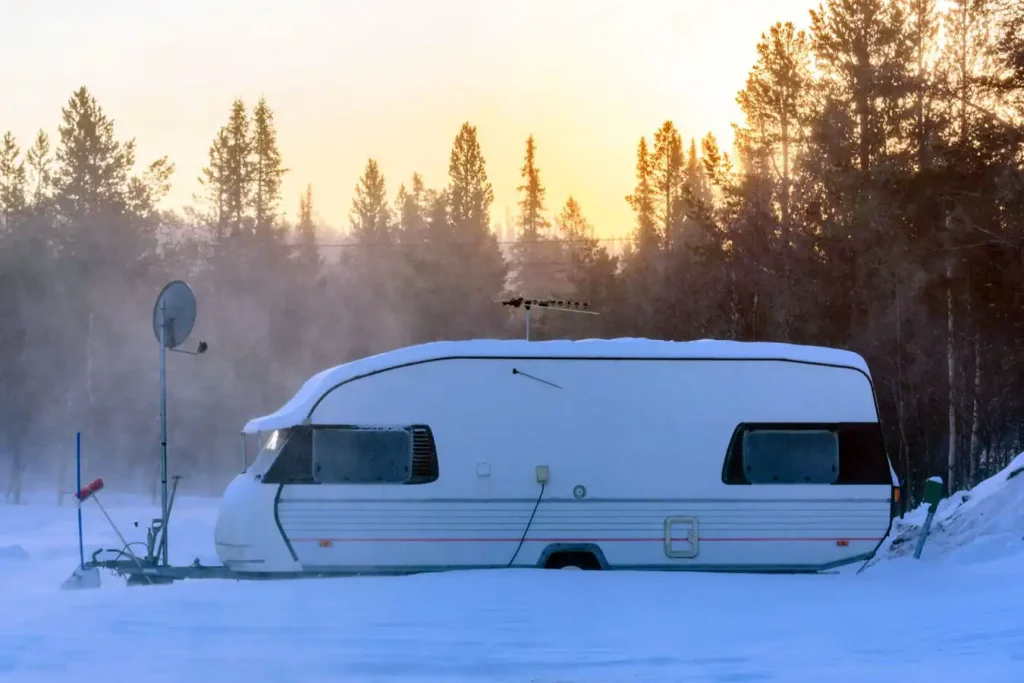
Preparing for the Winterization Process
A little preparation can make a huge difference. I learned this the hard way, during one of my early camping trips. An unexpected snowfall caught us off guard, and let’s just say, it wasn’t exactly the winter wonderland experience you’d imagine. Since then, I’ve become a stickler for preparations, especially when it comes to winterizing a camper.
Gather Necessary Materials and Tools
To avoid the frenzy of last-minute runs to the store and frantic online shopping, it’s important to gather all the necessary materials and tools ahead of time. For the winterization process, you’ll need:
- Non-toxic RV antifreeze: I suggest at least two to three gallons, depending on your RV’s size.
- A water heater bypass kit: To save you from filling your water heater with antifreeze.
- A water pump converter kit or tubing: To introduce the RV antifreeze into your system.
- Basic hand tools: Like a wrench and screwdrivers.
- An air compressor: To blow out any remaining water (optional but recommended).
Let’s just say I’ve had my share of “I wish I had that tool” moments. So, I recommend having these materials and tools on hand before starting the process.
Create a Winterization Checklist
Creating a winterization checklist might sound like a mundane task, but trust me, it’s a real game-changer. It not only helps you remember all the necessary steps but also ensures you carry them out in the right order. Plus, you can reuse this checklist every year, adding or removing steps as required.
Here’s what my winterization checklist looks like:
- Drain the water system.
- Bypass the water heater.
- Add RV antifreeze.
- Protect the plumbing system.
- Winterize the interior.
- Check the exterior.
- Prepare the electrical system.
- Protect the tires and undercarriage.
This checklist has saved me from several headaches over the years. After all, there’s nothing quite as frustrating as realizing you’ve missed a crucial step halfway through the process.
In the next sections, we’ll go over each of these steps in detail. But remember, while the process might seem daunting initially, with the right preparation and a little patience, you’ll have your camper winterized in no time!
Read more: How to Keep Mice Out of Camper During Storage
Step-by-Step Guide: How to Winterize Your Camper
Just like when you’re cooking up a batch of your famous campfire chili, there’s a certain order you need to follow when winterizing your camper. Trust me, this step-by-step process might take a bit of time and elbow grease, but it’ll be well worth it when you’re cozily reading inside your camper while the winter winds howl outside.
Drain the Water System
Remember that camping trip when we accidentally left a water bottle out in the freezing cold and it turned into an ice block? Imagine the same thing happening to your camper’s water system. Not a pretty picture, right?
That’s why the first step is to drain the water system. Open all faucets, including the shower, and don’t forget the toilet valve. Drain the fresh water holding tank and empty the black and grey holding tanks at a sanitary dump station. If your camper has a water filter, remove and bypass it before you add antifreeze.
Bypass the Water Heater
Did you know that your water heater can hold up to six gallons of water? That’s a lot of antifreeze to waste, not to mention the unnecessary expense. That’s why you should bypass your water heater. Most modern RVs have a built-in bypass valve for this purpose. If yours doesn’t, you can install a permanent one or use an external bypass kit.
Add RV Antifreeze
Here comes the color-changing magic: the addition of RV antifreeze will turn your water lines pink! First, close all the faucets and drain valves. Then, using the water pump converter kit or tubing, introduce the RV antifreeze into your system. Turn on the water pump and open each faucet one at a time, both hot and cold, until you see the pink antifreeze. Don’t forget to flush the toilet until you see pink there too.
Protect the Plumbing System
Next, you need to protect the plumbing system. You can do this by pouring a cup of antifreeze down each drain, including the shower, and don’t forget the toilet. Remember the pink color means your pipes are now protected.
Winterize the Interior
Our next task is to winterize the interior of the camper. Imagine returning in spring to find your favorite camping gear ruined by winter’s cold, moisture, or pesky little rodents. To avoid this, remove all perishable food, and clean the fridge and pantry thoroughly. If possible, leave the fridge doors open to prevent mildew. Also, cover your furniture to protect it from dust and moisture.
Check the Exterior
Now let’s move on to the exterior of your camper. You need to look for any areas that might let in cold air or water and seal them up. Check the roof, sidewalls, windows, and doors for any cracks or gaps. Also, cover the AC unit and vents to prevent small animals from seeking refuge inside.
Prepare the Electrical System
The next step is to prepare the electrical system. Unplug and store all cords properly. If you have a battery disconnect switch, turn it off. If you don’t, you might want to consider removing the battery and storing it in a warm place to prevent damage.
Protect the Tires and Undercarriage
Finally, don’t forget about the tires and undercarriage. Inflate the tires to the manufacturer’s recommended PSI and cover them to protect from UV damage. Also, check the undercarriage for any signs of rust or damage and treat as necessary.
In short, to winterize a camper, you need to drain all water systems, bypass the water heater, add RV antifreeze, protect the plumbing, secure the interior and exterior, prepare the electrical system, and safeguard the tires and undercarriage.
After all these steps, you can rest assured that your camper is ready for its winter hibernation. It’s always a bittersweet moment for me, but as they say, there’s a time and season
Expert Tips for Successful Camper Winterization
Just like every good scout knows the importance of being prepared, so does every seasoned camper when it comes to winterizing their camper. Let’s share some expert tips to ensure your camper is as snug as a bug in a rug during those winter months.
Importance of Regular Maintenance
First off, we can’t stress enough how important regular maintenance is. You wouldn’t wait till the last minute to pack for your camping trips, would you? Likewise, don’t wait until the first frost hits to start thinking about winterizing your camper.
Regular maintenance not only prevents damage but also prolongs the lifespan of your camper. So, always check for leaks, service your water systems, and monitor tire pressure consistently.
Common Mistakes to Avoid
Ah, mistakes. We’ve all made them, haven’t we? Remember that camping trip when we forgot the bug spray? Let’s just say, we learned our lesson. Here are some common mistakes you should avoid when winterizing your camper:
- Forgetting to bypass the water heater. This not only wastes antifreeze but can also damage your water heater.
- Ignoring the exterior. Small cracks or leaks can lead to significant problems. Make sure to inspect and seal any potential entry points for water.
- Not protecting the battery. Batteries can freeze and crack in cold temperatures. Make sure to disconnect and store your battery properly.
Specialist Advice for Different Camper Models
It’s important to remember that not all campers are created equal. What works for your buddy’s RV might not work for your pop-up camper. Always consult your owner’s manual or seek advice from specialists for your specific camper model. You wouldn’t cook a trout the same way you’d cook a steak on your campfire, would you? Exactly.
Camper Storage Tips
Now that your camper is all set for winter, it’s time to think about storage. Just as you’d pick a good campsite, you need to choose an ideal storage space for your camper.
Best Practices for Storing Your Camper in Winter
Here’s a little secret. The best place to store your camper is in a covered, climate-controlled environment. But, let’s be real, not everyone has that luxury. If you’re storing your camper outdoors, choose a flat, paved surface to prevent sinking or uneven tire pressure. Also, avoid parking under trees that might drop limbs or sap.
And guess what? Even in storage, your camper needs some TLC. Regularly clear off any snow or ice build-up and ventilate your camper on warmer days to prevent condensation and mold.
Recommendations for Camper Covers
Lastly, let’s talk about camper covers. Just as you would wrap yourself up in a warm blanket on a cold winter’s night, your camper needs a cover too. When choosing a camper cover, go for breathable material to prevent condensation, ensure it’s a snug fit, and importantly, make sure it’s designed to withstand your local winter conditions.
Remember, caring for your camper is just like caring for anything else you love. Give it some time, attention, and most importantly, understanding. Winterizing your camper isn’t just about ticking off a checklist. It’s about preserving your home away from home for the many more camping adventures to come.
How to De-Winterize Your Camper for the Spring
Finally, the snow is melting, the days are getting longer, and the promise of spring is in the air. It’s time to dust off your camper and prepare for your next adventure. But before you hit the road, you’ll need to de-winterize your camper. Let’s walk through the process.
Steps for a Smooth Transition Back to Use
Think of de-winterizing as a spring awakening for your camper. It’s about checking everything’s in working order and making sure your home-on-wheels is ready for the road. Here’s how:
- Remove the cover. It’s served its purpose and kept your camper snug and warm during the winter months. Check it for damage before storing it away for next winter.
- Reconnect the battery. You remember disconnecting it for the winter, right? Now’s the time to clean the terminals, check the charge, and reconnect it.
- Flush the plumbing system. Fill up your water system with fresh water and flush it through, removing any remaining antifreeze.
- Reinstall any removed devices. If you’ve removed items like water filters or smoke detectors, it’s time to reinstall them.
- Check your appliances. Make sure all your appliances are working correctly. This includes the refrigerator, the stove, the furnace, and the air conditioning.
- Prepare for pests. During the winter, your camper might have become an attractive home for pests. Check for signs of infestation and take necessary action.
Checking for Potential Damage
Just like every camping trip comes with its tales of unexpected events (remember the raccoon incident?), so too can de-winterizing your camper. Spring is the time to check for any damage that might have occurred during the winter months. Look for any leaks, cracks, or signs of rust. Check the tires for wear and proper inflation. And don’t forget to check the roof for any damage or potential leak points.
Remember, the goal of de-winterizing is to ensure that your camper is safe, functional, and ready for your next adventure. It’s about more than just going through the motions. It’s about giving your camper the care and attention it deserves after a long winter’s rest.
As a fellow camper, I know that our campers are more than just vehicles. They’re a passport to freedom, adventure, and making memories with loved ones. So take the time to de-winterize properly. Your camper will thank you, and so will your future self as you sit by the campfire, under the stars, without a care in the world.
FAQs about Winterize a Camper
How do you winterize a camper for beginners?
How do I winterize my RV by myself?
Do you put RV antifreeze in the freshwater tank?
What do you use to winterize a camper?
How many gallons of RV antifreeze do I need?
Do you need water to winterize a camper?
Final Thoughts for Winterize a Camper
The ritual of winterizing your camper, much like camping itself, can seem daunting at first glance. But with careful planning, a thorough checklist, and a dedication to regular maintenance, it becomes an integral part of the rhythm of the seasons. It’s a way of showing care for the vehicle that has been, and will continue to be, an enabler of unforgettable adventures.
As you take these steps to safeguard your camper against the winter chill, remember that you’re not just protecting an investment; you’re ensuring many more seasons of stories around the campfire, hikes in the forest, and nights under the stars. The proper winterization of your camper is, indeed, a passport to many more adventures in the great outdoors. And isn’t that what camping’s all about? So here’s to embracing the process, one step at a time, for the love of camping.
Know more: Stay Warm Camping in 30 Degree Weather