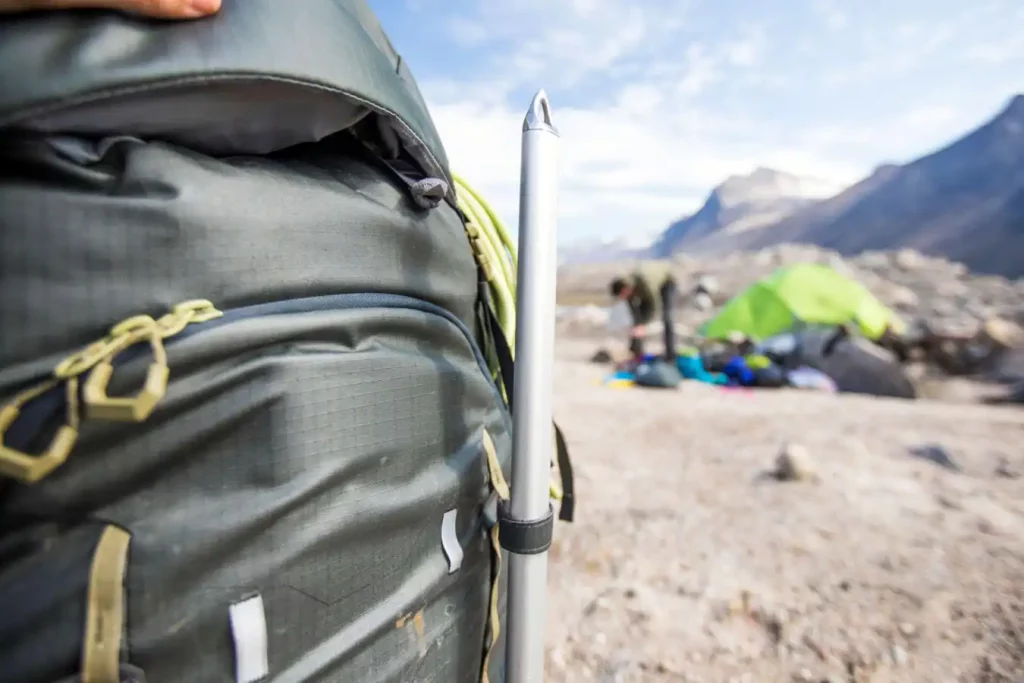
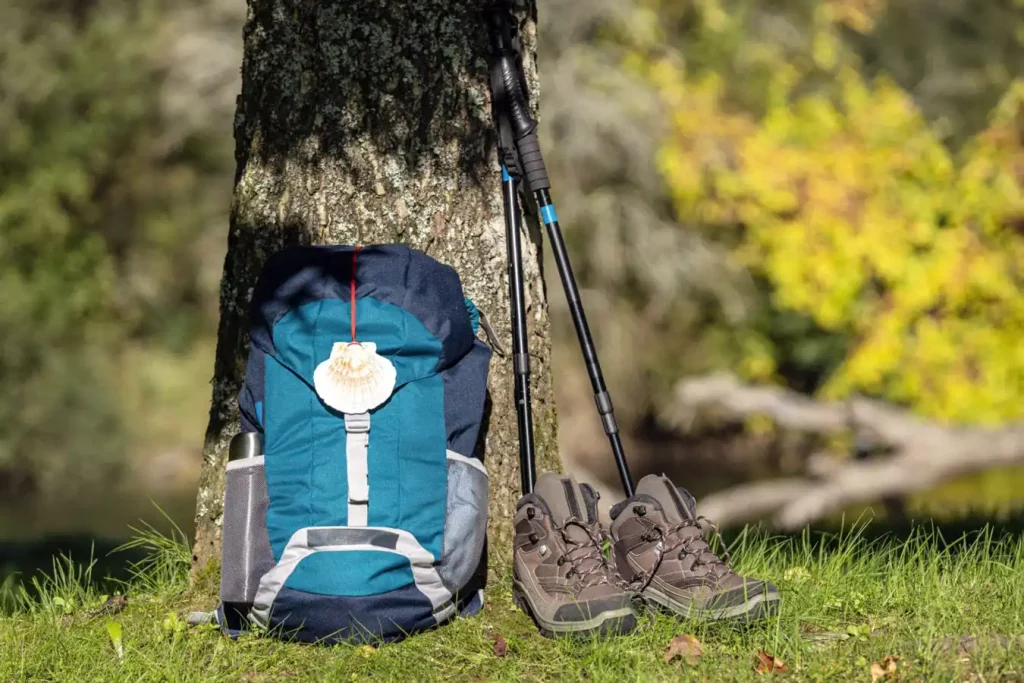
How to attach trekking pole to backpack without it looking like a DIY disaster?
Been there, tried that, and ended up with a pole clanging against my side.
Trust me, when you're hiking up a mountain, the last thing you want is your gear giving you grief.
But there's a method to this madness, a little trick that makes all the difference.
So, before you head off on your next adventure, let's nail this together.
Let’s get you hiking without any unexpected pole dramas!
Understanding Your Backpack and Trekking Poles
Your backpack and trekking poles are the mainstays of your hiking equipment. Understanding them and their features is essential to maximize their utility.

Features of Backpacks Designed for Trekking
Modern backpacks designed specifically for trekking often come with attachment points, loops, or bungee cords. These are meant to securely stow away gear like ice axes, helmets, and yes, trekking poles. Some bags even have specially designed pockets or compartments for poles. Familiarizing yourself with these features can make your hiking experience more comfortable and convenient.
Exploring Different Types of Trekking Poles
Trekking poles, much like hikers, come in different shapes and sizes. Some are foldable, some are telescopic, and some are fixed-length poles. Each type has its unique features and ways of being attached to a backpack. Understanding your type of pole will guide you on the best way to attach them to your pack.
Read more: What Size Ski Poles Do I Need
Why Attach Trekking Pole to Backpack?
Now you may be wondering, why would I want to attach my trekking poles to my backpack in the first place? Let's shed some light on this.
The Benefits of Attaching Trekking Poles
Attaching your poles to your backpack can free your hands, allowing you to take photos, eat a snack, climb a tough section of the trail, or simply give your arms a break. Additionally, safely stowed poles are less likely to be lost or accidentally left behind during rest stops.
When to Store Your Trekking Poles on Your Backpack
There are several instances when you might want to attach your poles to your backpack. It could be during an easy descent or flat section of the trail where you don't need the extra support. Or perhaps you've come across a tricky climb that requires both hands. Maybe you've stopped for a quick bite to eat or to take some photos of the stunning scenery. During these times, having your trekking poles neatly attached to your backpack can make life on the trail a whole lot easier.
Know more: How Long Should Ski Poles Be
Preparation: Getting Your Backpack and Trekking Poles Ready
Before we jump into the step-by-step process of attaching trekking poles to a backpack, it's crucial to have both your backpack and trekking poles ready. Here's how to prepare:
Checking Your Backpack's Attachment Points
Take a good look at your backpack. Identify the different attachment points you have available. These could be loops, straps, bungee cords, or other clips. The type and position of these attachment points will determine how you attach your trekking poles.
Preparing Your Trekking Poles for Attachment
Depending on the type of trekking pole you have, there might be some preparation needed. For telescopic poles, collapse them to their shortest length. If they are foldable poles, fold them into their compact form. Ensure that the sharp tips are covered to avoid damage to your backpack or any unfortunate accidents.
Step-by-Step Guide: To Attach Trekking Pole to Backpack
Now that you have everything prepared, it's time to attach your trekking poles to your backpack. While there might be slight variations depending on the specific models of your gear, the following steps should guide you through the process.
Step One: Positioning Your Trekking Poles
Decide how you want your poles to be positioned. Vertically attached poles might provide a better weight distribution and are less likely to snag on low branches. However, if your backpack is smaller, or you're moving through tight spaces, horizontally attached poles could be more convenient.
Once you've decided, place your poles on your backpack accordingly. The grip end should be pointing downwards if you're attaching them vertically.
Step Two: Securing Your Trekking Poles
Use the loops, straps, or bungee cords available on your backpack to secure your poles. Start by securing the top part of the pole, then move to the bottom part. Make sure the poles are held tightly against the backpack and that there is no excessive movement. If your backpack has side compression straps, they can often be used to secure poles attached vertically.
Step Three: Final Adjustments and Checks
Once your poles are secured, do a quick check. Are the poles snug against the backpack? Do they shift or slide when you move the backpack around? Adjust the tightness of the straps if necessary. Also, make sure the tips are still covered and aren't posing a risk to you or your gear.
That's it! Now you have your trekking poles attached to your backpack, freeing up your hands for whatever the trail might throw at you next.
Remember, practice makes perfect. The more you do this, the quicker and more efficient you'll become at attaching your trekking poles to your backpack. So, don't get discouraged if it feels awkward at first.
Read more: How to Carry Snowshoes on Backpack
Tips and Tricks for Securely Attach Trekking Pole to Backpack
As you get more comfortable with attaching your trekking poles to your backpack, there are a few tips and tricks you can use to ensure a secure and fuss-free attachment.
Dealing with Backpacks Without Specific Attachment Points
Sometimes, your backpack might not come with built-in attachment points for trekking poles. But fear not! You can get creative and use other parts of the bag. For example, you could use the side compression straps or even the loops meant for an ice ax. Alternatively, consider using external gear ties or carabiners for additional attachment points. Just ensure that whatever you use, it's secure and doesn't damage your backpack or poles.
Preventing Unwanted Movement and Noise
A poorly attached trekking pole can cause annoying clanking sounds or throw off your balance as it moves around. To prevent this, ensure your poles are tightly secured and flush against your backpack. You can also use rubber bands or reusable zip ties for extra stability. And if noise is a problem, try wrapping the part of the poles that touch to dampen any sound.
Know more: Attach a Water Bottle to Backpack, Water Bottle in Inches.
Safety Considerations When Attach Trekking Pole to Backpack
As with all hiking equipment, safety is paramount. Here are a few considerations when attaching your trekking poles to your backpack.
The Risks of Incorrectly Attached Trekking Poles
Incorrectly attached trekking poles can be more than just an annoyance—they can be a genuine safety risk. Poles that are not securely fastened can fall off, potentially causing injury or loss of the poles. Also, if your poles are attached unevenly, they can cause imbalance, which could lead to falls on tricky terrain.
Keeping Balance While Trekking with Attached Poles
Remember that attached trekking poles add to the weight and size of your backpack. This added bulk might affect your balance, especially on uneven or steep terrain. Practice walking with your poles attached in a safe and open space before hitting the trails. It'll help you get used to the added weight and learn how to move comfortably with the poles attached.
FAQs about Attach Trekking Pole to Backpack
How do you attach walking poles to a backpack?
How do you attach poles to an Osprey bag?
How do you attach trekking poles to an Osprey Daylite?
Do you need trekking poles when backpacking?
Conclusion
In summary, learning how to attach your trekking poles to your backpack can make your hiking experience much more enjoyable and efficient. Not only does it free up your hands when needed, but it also ensures you're carrying all necessary equipment without adding excessive weight.
Like all skills, it may take a few tries to master, but once you do, you'll wonder how you ever hiked without this trick in your repertoire. So, get out there and start trekking!


