If you’ve ever wondered “why is your my cast iron sticky after seasoning it?,” you’re not alone.
This common kitchen conundrum has puzzled many home cooks and seasoned chefs alike.
Seasoning isn’t just a culinary term; in the world of cast iron cookware, it refers to the process of applying a layer of oil to the pan and then heating it to create a natural non-stick surface.
A well-seasoned cast iron pan can last for generations, making it a cherished item passed down through families.
In this article, we’re going to unravel the mystery and uncover the secrets behind properly seasoning cast iron.
Not only will you learn what might be causing the stickiness, but also how to avoid it in the future.
So grab your skillet and get ready to become a cast iron seasoning pro!
The Science Behind Seasoning
But what’s the science behind this process? Why does the layer of oil create this magical non-stick surface? Let’s break it down.
How Does Seasoning Work?
When oil is heated on cast iron, it undergoes a process called polymerization. This means the oil transforms into a hard, plastic-like substance that adheres to the surface of the pan. This layer, when built up over time and through repeated applications, creates the sought-after non-stick surface.
The sticky feeling that can sometimes occur is likely due to the oil not being fully polymerized. This can happen when the oil layer is too thick, the oven temperature is too low, or the pan isn’t left in the oven long enough for the polymerization process to fully complete.
Why Proper Seasoning Matters
Without proper seasoning, cooking with cast iron can be a bit of a sticky situation, literally. Food can adhere stubbornly to the surface, and cleaning can become a real chore. Plus, a poorly seasoned or unseasoned cast iron pan can lead to food acquiring a metallic taste, which is hardly appetizing.
Remember, the goal of seasoning is to create a smooth, non-stick surface. If the pan feels sticky after seasoning, it’s a clear indication that something’s not quite right in the seasoning process. But don’t worry, it’s not a disaster! Often, all it takes is another round of seasoning, taking care to use a thinner layer of oil, a hotter oven, or a longer baking time to achieve that perfect, non-stick finish.
Common Reasons for a Sticky Cast Iron After Seasoning
You’ve followed the seasoning process to the letter, but your cast iron is still coming out sticky. What gives? Well, several factors could be contributing to this issue. Let’s take a closer look at these common pitfalls and how to avoid them in your future seasoning adventures.
Insufficient Heating During Seasoning
One of the key components of successful seasoning is heat. Remember, the oil needs to reach a high enough temperature to fully polymerize and form that non-stick layer we’re after. If your oven temperature is too low, or the pan isn’t heated for long enough, you might end up with a sticky residue instead of a slick, shiny finish.
To avoid this, make sure to preheat your oven to the recommended temperature — usually around 400 to 500 degrees Fahrenheit — and allow the pan to bake for at least an hour. This will give the oil plenty of time to polymerize fully.
Over-application of Oil
In the seasoning process, less is definitely more. It can be tempting to slather on a thick layer of oil, thinking it will create a more robust seasoning layer. However, too much oil can actually lead to a sticky or gummy surface.
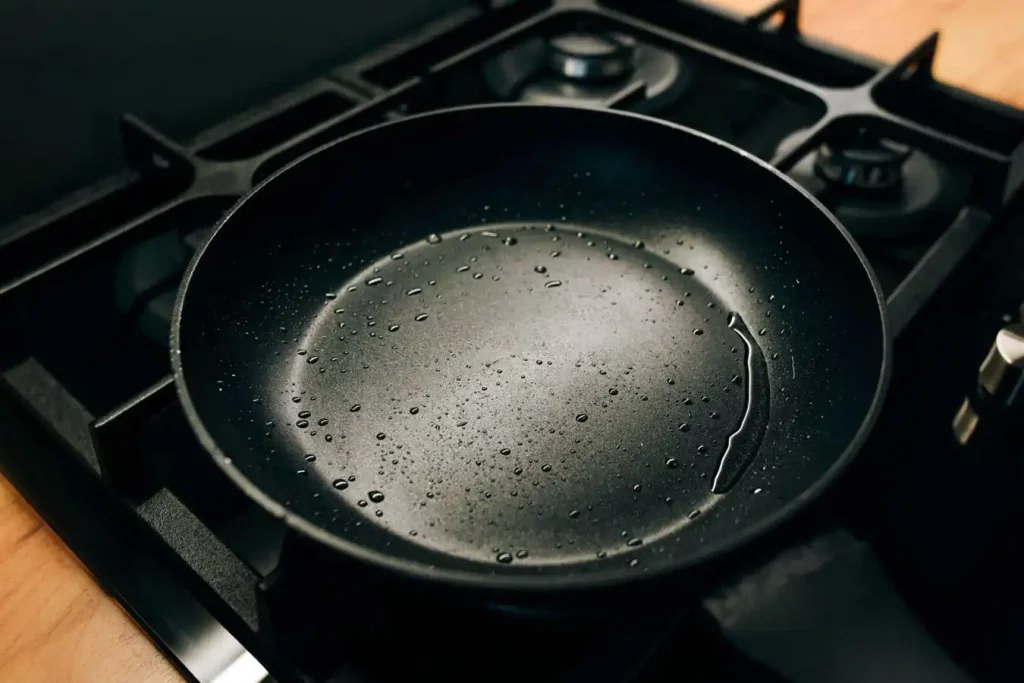
When seasoning your cast iron, aim to apply a very thin, almost invisible layer of oil. After spreading the oil over the entire surface of the pan, use a clean cloth to wipe away any excess. This should leave just enough oil to polymerize without resulting in stickiness.
Using the Wrong Type of Oil
Not all oils are created equal, especially when it comes to seasoning cast iron. Some oils have a low smoke point, which means they’ll start to break down and become sticky before reaching the high temperatures required for proper seasoning.
Oils with high smoke points — like flaxseed, canola, or grapeseed oil — are generally the best choices for seasoning. They can withstand the high oven temperatures without breaking down and creating a sticky residue.
Incorrect Cooling Process
The cooling process is just as important as the heating process when seasoning cast iron. If the pan is cooled too quickly, or if excess oil isn’t properly wiped off before cooling, the surface can become sticky.
The best practice is to let the pan cool slowly in the oven after the heating process. This allows the oil to continue polymerizing as the pan cools. Once the pan has cooled to room temperature, any remaining oil can be wiped off, leaving behind a perfect non-stick surface.
Understanding and avoiding these common pitfalls can help ensure that your cast iron seasoning process results in a non-stick, durable surface, rather than a sticky mess.
Exploring Each Cause of Stickiness in Detail
Now that we have a broad understanding of the possible culprits behind the sticky surface of a seasoned cast iron, let’s dive deeper. Each of these issues has unique implications and solutions that will aid you in mastering the art of seasoning cast iron.
Understanding Insufficient Heating and Its Consequences
Insufficient heating during seasoning can lead to an incomplete polymerization process, which in turn results in a sticky residue instead of a smooth, shiny surface. It’s like trying to bake a cake at too low a temperature – the ingredients won’t combine properly, and you’ll end up with a gooey mess instead of a fluffy sponge.
Additionally, insufficient heat may also fail to kill off bacteria or microorganisms present on the pan’s surface, posing potential health risks. Therefore, proper heating is not just about achieving that perfect non-stick surface, but it’s also about food safety!
The Implication of Over-application of Oil
A common misconception about seasoning is that more oil equates to a better seasoning layer. The reality, however, is quite the opposite. Over-application of oil can cause pooling during the heating process, leading to an uneven, sticky surface instead of a uniform, non-stick layer. It’s like applying too much paint on a wall – instead of a smooth, even coat, you get drips and clumps.
Why the Wrong Type of Oil Matters
The type of oil used for seasoning can significantly affect the outcome. Low smoke point oils tend to break down and become sticky when subjected to high temperatures. It’s like trying to fry an egg in butter over high heat – you’ll end up with a burnt, smoky mess instead of a golden, crispy delight.
Moreover, using the wrong oil could impart unwanted flavors onto your food. Oils with strong flavors, like coconut or olive oil, can transfer those flavors to your dishes, which might not always be a welcome addition.
How an Incorrect Cooling Process Affects the Seasoning
The cooling process is an often overlooked yet vital part of seasoning. A too rapid cooling process can interrupt the polymerization of the oil, resulting in a sticky surface. Imagine pulling a loaf of bread out of the oven and immediately sticking it in the freezer – it’s bound to affect the texture and taste.
Tips to Avoid a Sticky Cast Iron after Seasoning
Armed with the knowledge of what can go wrong, let’s move on to some tips on how to get it right.
Ideal Heating Techniques
Preheat your oven to a high temperature, typically around 450-500°F, before placing your cast iron inside. Maintain this high heat for at least an hour. After heating, allow the pan to cool down inside the oven gradually.
Right Quantity and Type of Oil to Use
Use just enough oil to lightly coat the pan, making sure to wipe away any excess with a clean cloth. Opt for oils with high smoke points like flaxseed, canola, or grapeseed oil to withstand the high oven temperatures without breaking down.
Proper Cooling Process
After heating, let the pan cool down slowly inside the oven, allowing the oil to continue polymerizing as the pan cools. This gradual cooling process will help to cement that non-stick layer we’re aiming for.
Mastering the art of cast iron seasoning may seem daunting, but with a clear understanding of the potential pitfalls and how to avoid them, you’ll be on your way to a slick, non-stick cooking surface in no time!
Step-by-Step Guide to Perfectly Season a Cast Iron Skillet
Seasoning your cast iron skillet is like fine-tuning a musical instrument. It needs precision, attention to detail, and a whole lot of patience. But once done right, it can play a beautiful symphony of flavors in your food! Let’s break down the process into simple steps.
Cleaning the Cast Iron Skillet
First things first, clean your cast iron skillet thoroughly. If it’s brand new, wash it with warm, soapy water to remove any factory-applied protective coating. If it’s an older skillet, you might need to scrub off rust or baked-on food with a mix of coarse salt and water, using a stiff brush or steel wool. Remember, this is the only time you should be using soap on your cast iron!

Rinse well and dry immediately and thoroughly, as any moisture left on the pan can lead to rust. I like to place it on the stove over low heat for a few minutes just to make sure it’s completely dry.
Applying the Oil
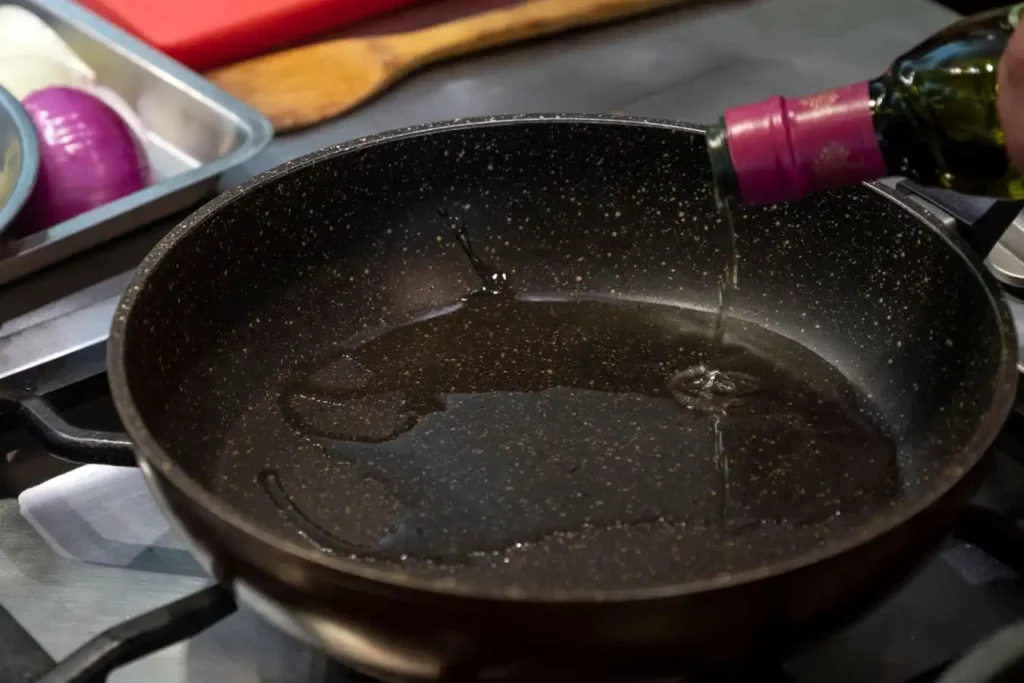
Now comes the fun part – applying the oil. Remember our chat about the right kind of oil? Choose a high smoke point oil, such as flaxseed, canola, or grapeseed oil. With a clean, dry cloth or a paper towel, apply a thin layer of oil all over the skillet – and I mean everywhere! The outside, handle, and even the bottom need to be oiled.
But be cautious! You don’t want it to pool, so use just enough to create a sheen, then wipe away any excess with a dry cloth or paper towel. You’re aiming for a slick, shiny surface, not a greasy one!
Heating Process
Next, it’s time for the skillet to hit the heat. Place it upside down in a preheated oven at around 450-500°F. Why upside down? This allows any excess oil to drip off rather than pooling in the skillet.
Let it bake for an hour. This process will polymerize the oil, creating that smooth, non-stick layer we’re aiming for.
Cooling and Storing
After the hour is up, turn off the oven but leave the skillet inside. Let it cool down gradually with the oven – this will help to solidify the seasoning layer and prevent it from becoming sticky.
Once cooled, your skillet is ready to use! Store it in a dry place, and consider placing a paper towel inside it to absorb any moisture and prevent scratching if you’re stacking other pans inside it.
Your cast iron skillet is seasoned and ready to deliver mouth-watering meals. Just remember, maintenance is key. After cooking, clean it with just hot water and a brush or scraper, dry it thoroughly, and apply a very light layer of oil before storing.
Learn more: How to Season a Charcoal Grill
Practical Guide: How to Fix a Sticky Cast Iron Pan
So you’ve followed all the rules, but your cast iron pan is still a sticky mess? Fret not, dear friend! All is not lost. A few additional steps can turn that sticky disaster back into a sleek, non-stick cooking wonder.
Cleaning the Sticky Residue
First, you’ll need to clean off the sticky residue. This can be done using a mixture of kosher salt and water, a dish scrub, or steel wool if the stickiness is quite severe. Remember, the goal here is to remove any excess oil that didn’t polymerize during the seasoning process.

Once the sticky residue is gone, rinse your pan thoroughly with warm water and dry it completely.
Proper Method of Applying Oil
Re-seasoning a sticky pan isn’t much different from seasoning a new one. Start by applying a thin layer of oil to the entire skillet, including the handle and exterior. Be mindful not to use too much. Your skillet should look shiny, not oily.
The Ideal Temperature for Seasoning Cast Iron
Now it’s time for the oven. Preheat it to around 450-500°F. This high temperature is necessary to reach the oil’s smoking point and begin the polymerization process. Place the skillet upside down in the oven and bake for about an hour.
Appropriate Oils for Seasoning
As we discussed earlier, the type of oil you choose is crucial. High smoke point oils like canola, grapeseed, or flaxseed oil are excellent choices for seasoning your cast iron. They are less likely to get sticky and provide a good non-stick surface.
Once your skillet has baked for an hour, turn off the oven and let it cool down naturally inside. This will further solidify the seasoning layer, making it more resilient and less likely to become sticky in the future.
Read more: How to Clean Bacon Grease from Cast Iron Cookware
FAQs about Cast Iron Sticky After Seasoning
Why is my cast iron sticking?
How to get fish smell out of cast iron?
Why is my cast iron pan sticky after seasoning?
How to fix a sticky cast iron skillet?
Should seasoned cast iron be sticky?
What happens if you season cast iron too long?
Why does my cast iron look worse after seasoning?
Should you let cast iron cool after seasoning?
Final Words
Cast iron pans are a kitchen powerhouse, but they demand careful handling. The secret to a non-stick, long-lasting skillet is proper seasoning – an art that requires the right oil, the correct temperature, and a good bit of patience.
If you do find yourself facing a sticky situation, don’t despair! Cleaning and re-seasoning can usually restore your pan to its former glory.
Above all, remember that cast iron skillets are like fine wine – they only get better with age. The more you use and care for them, the better their seasoning becomes. So, go ahead and cook with love. Your cast iron pan is ready to serve you, your family, and maybe even generations to come.


